EINES Vision Systems Solutions

EINES Vision Systems Solutions

Automotive Industry Inspection Solutions, using machine vision and machine learning to solve the Quality Control challenges of automotive manufacturers for gap/flush, multi error proofing component/parts inspection, paint inspection and auto-repair.

  • Automotive Paint Quality and Auto Repair Inspection Tunnels
  • Metrology Inline Gap & Flush Tunnels for Body and Assembly
  • Multi Error Proofing Solutions for Component and Parts Inspection
  • Battery Assembly Quality Control Solutions

Tunnel Vision Systems Solutions for the Automotive Industry

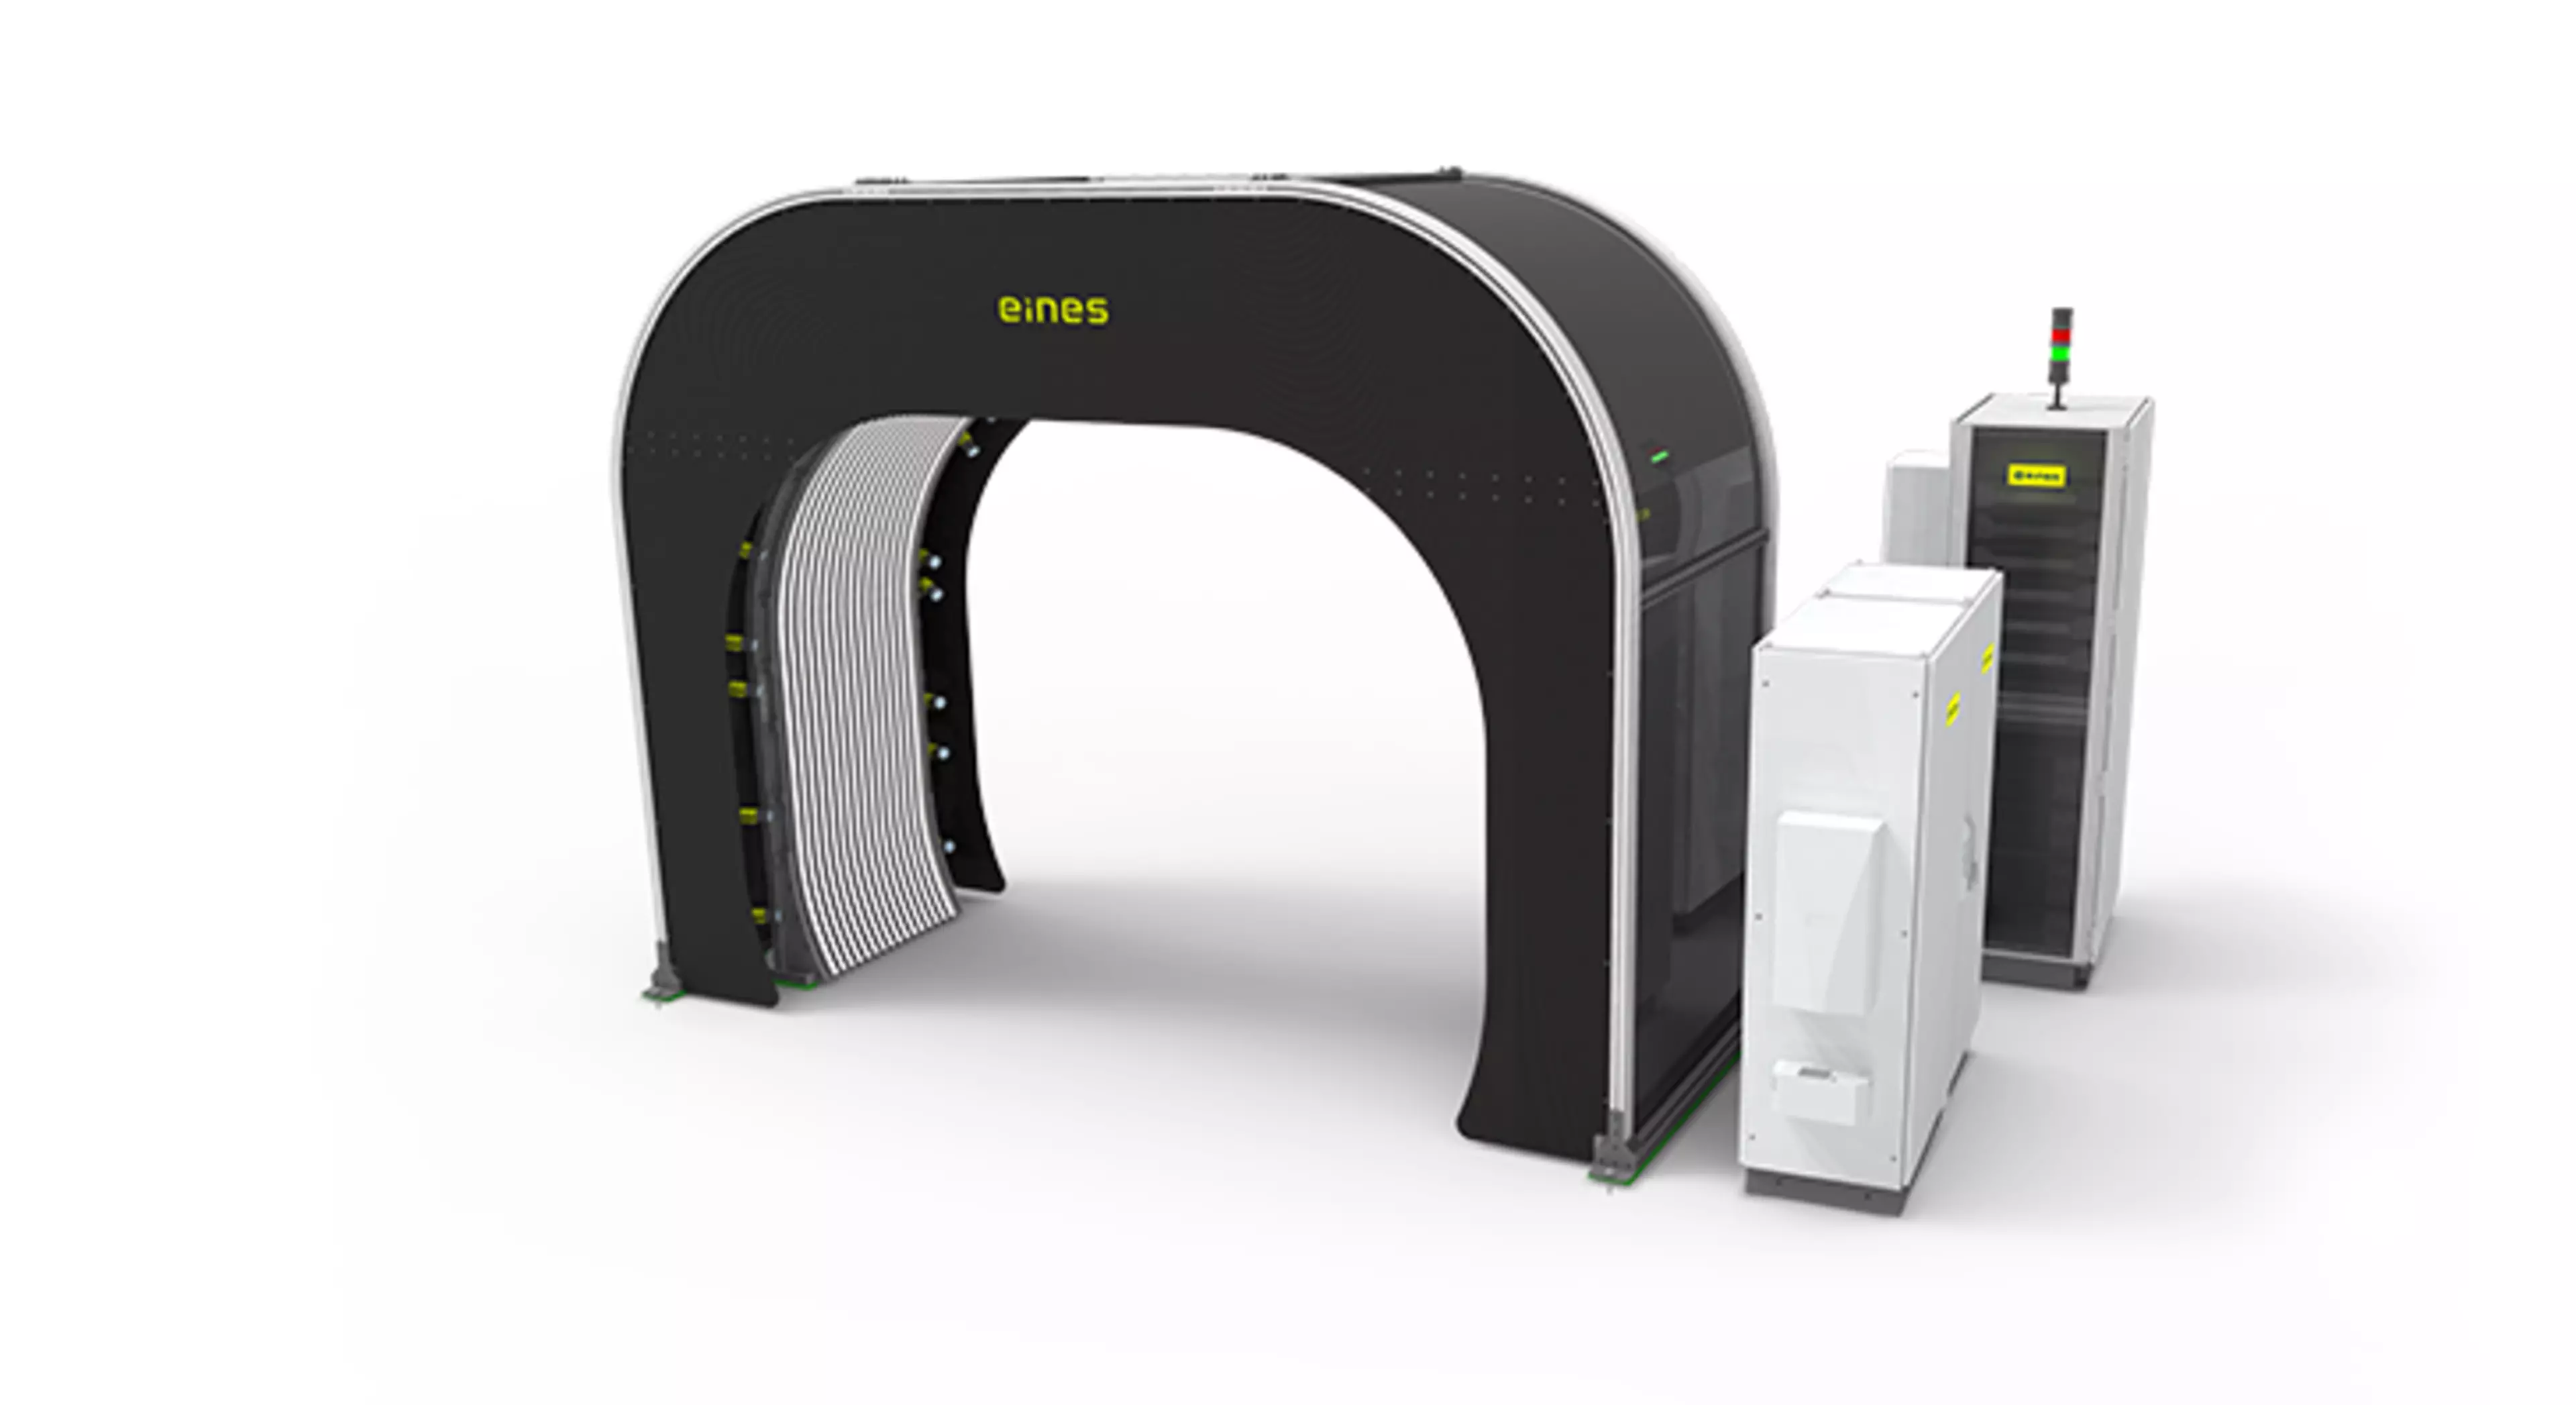
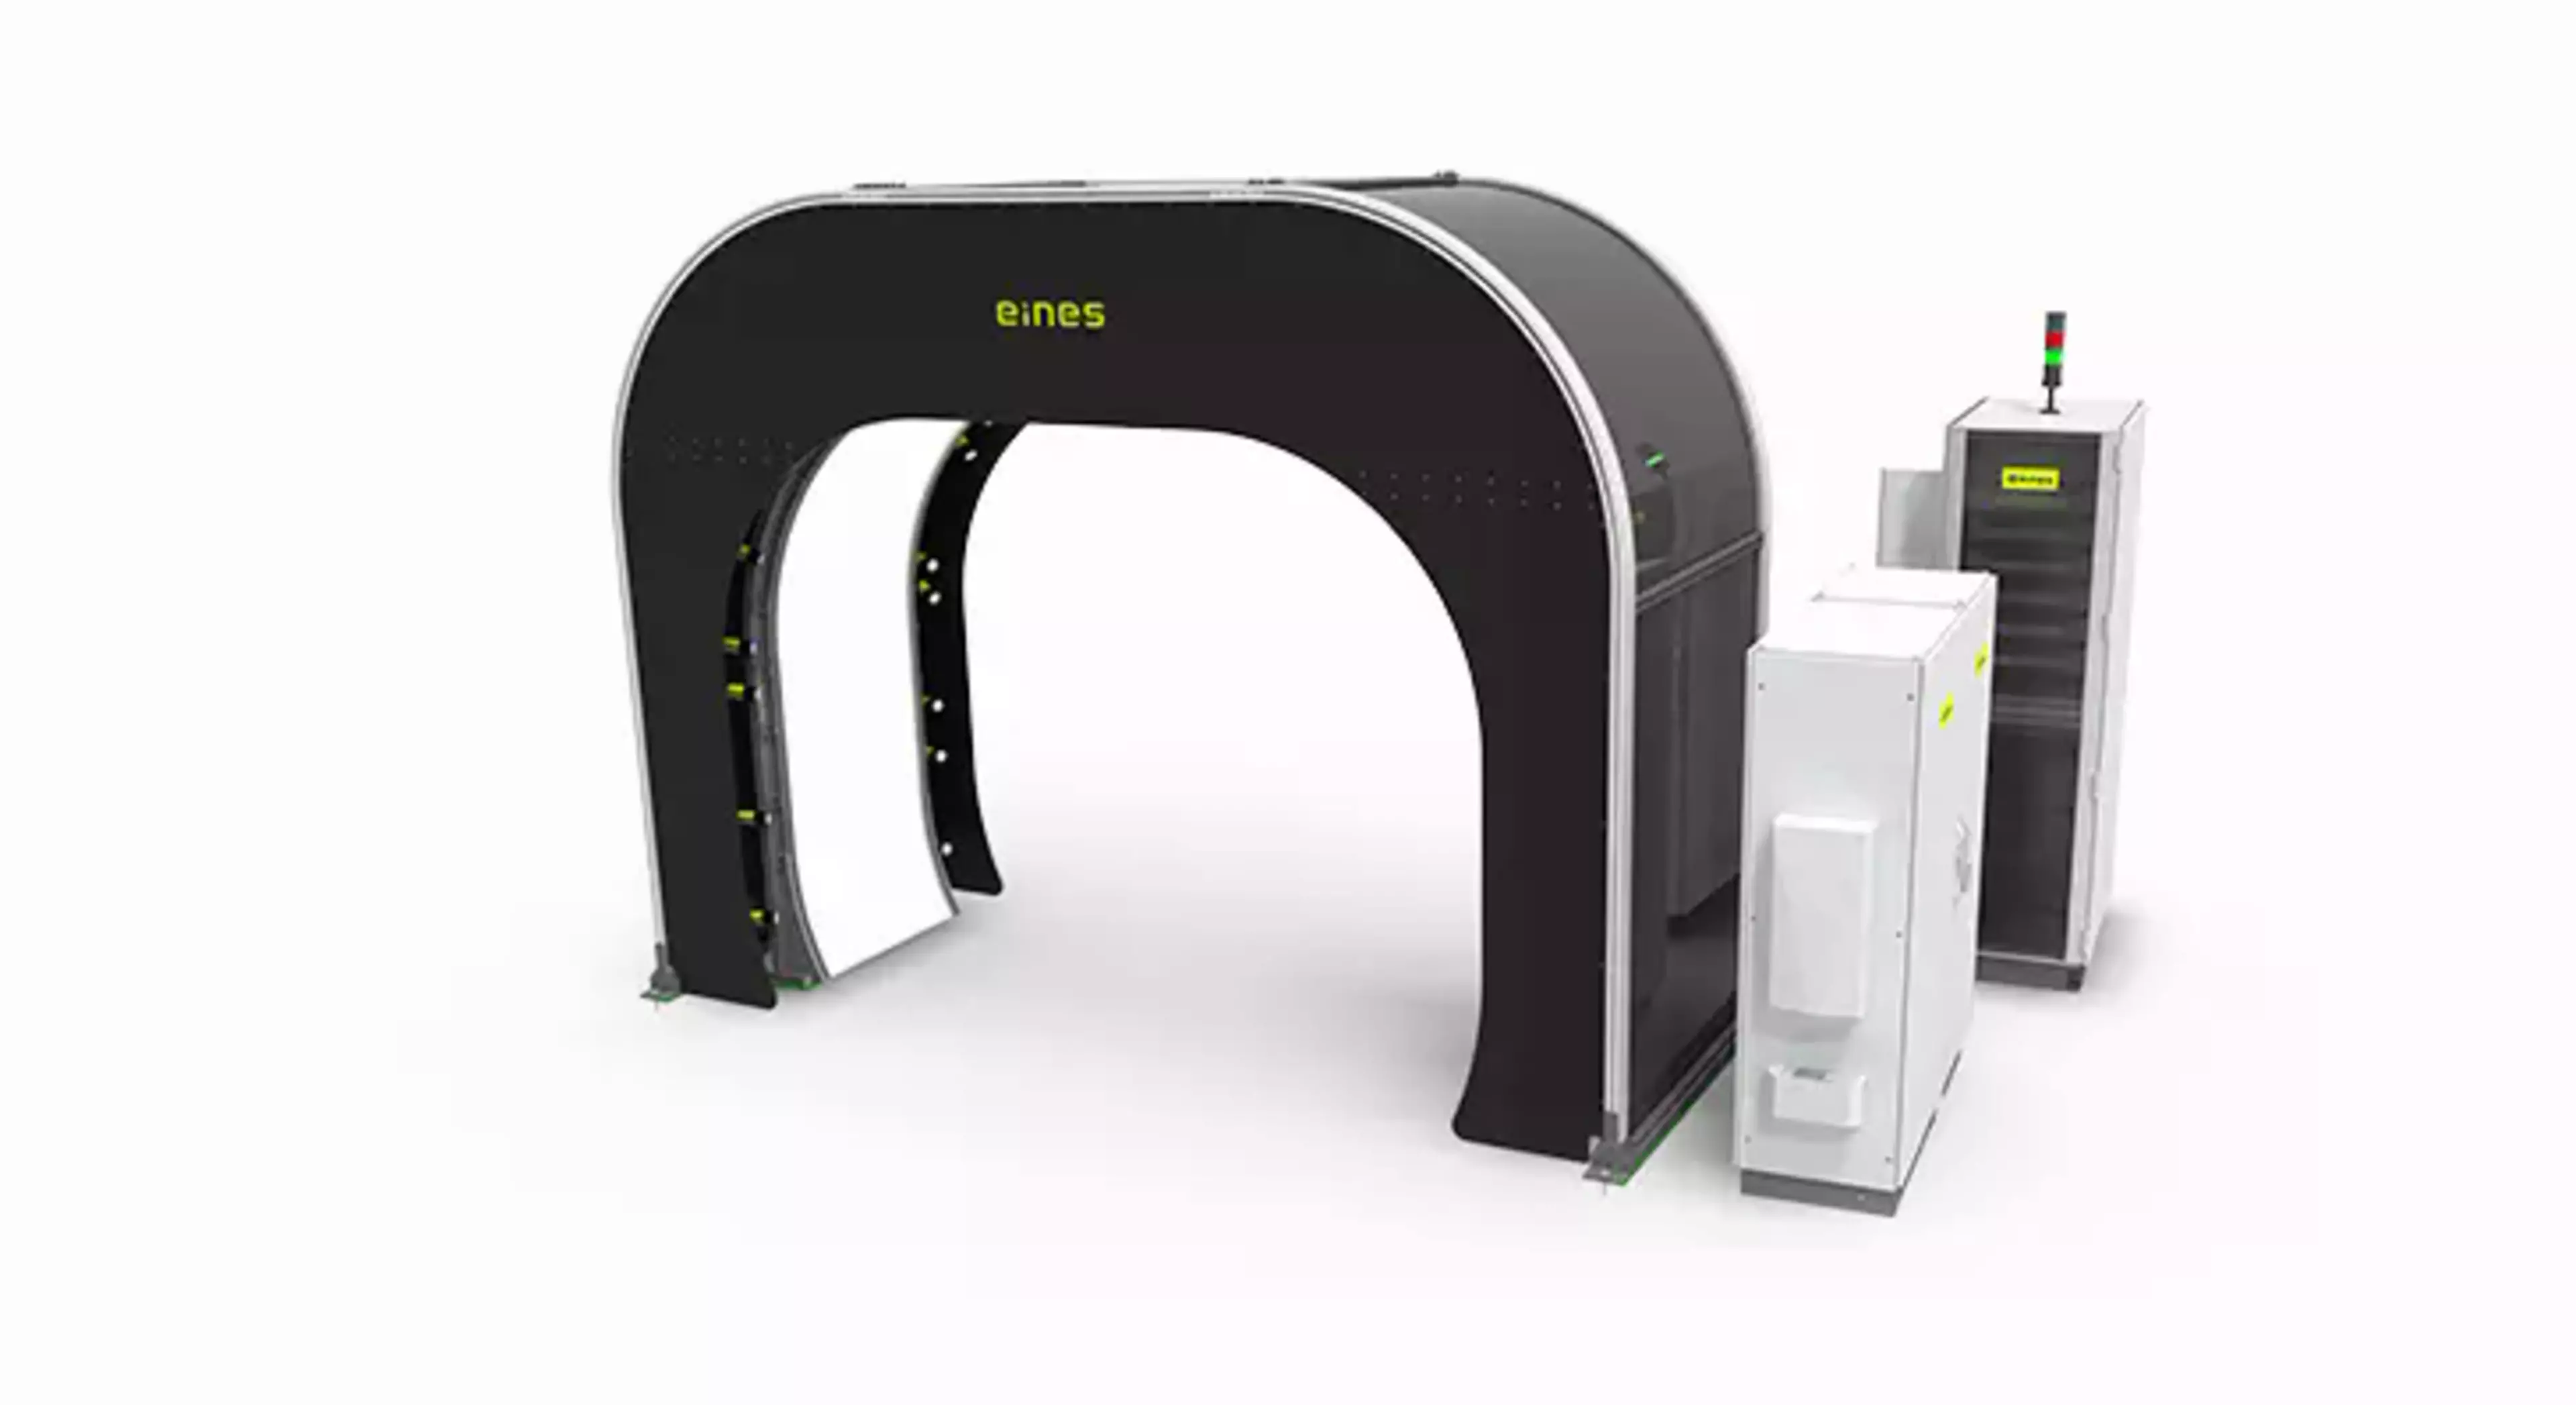
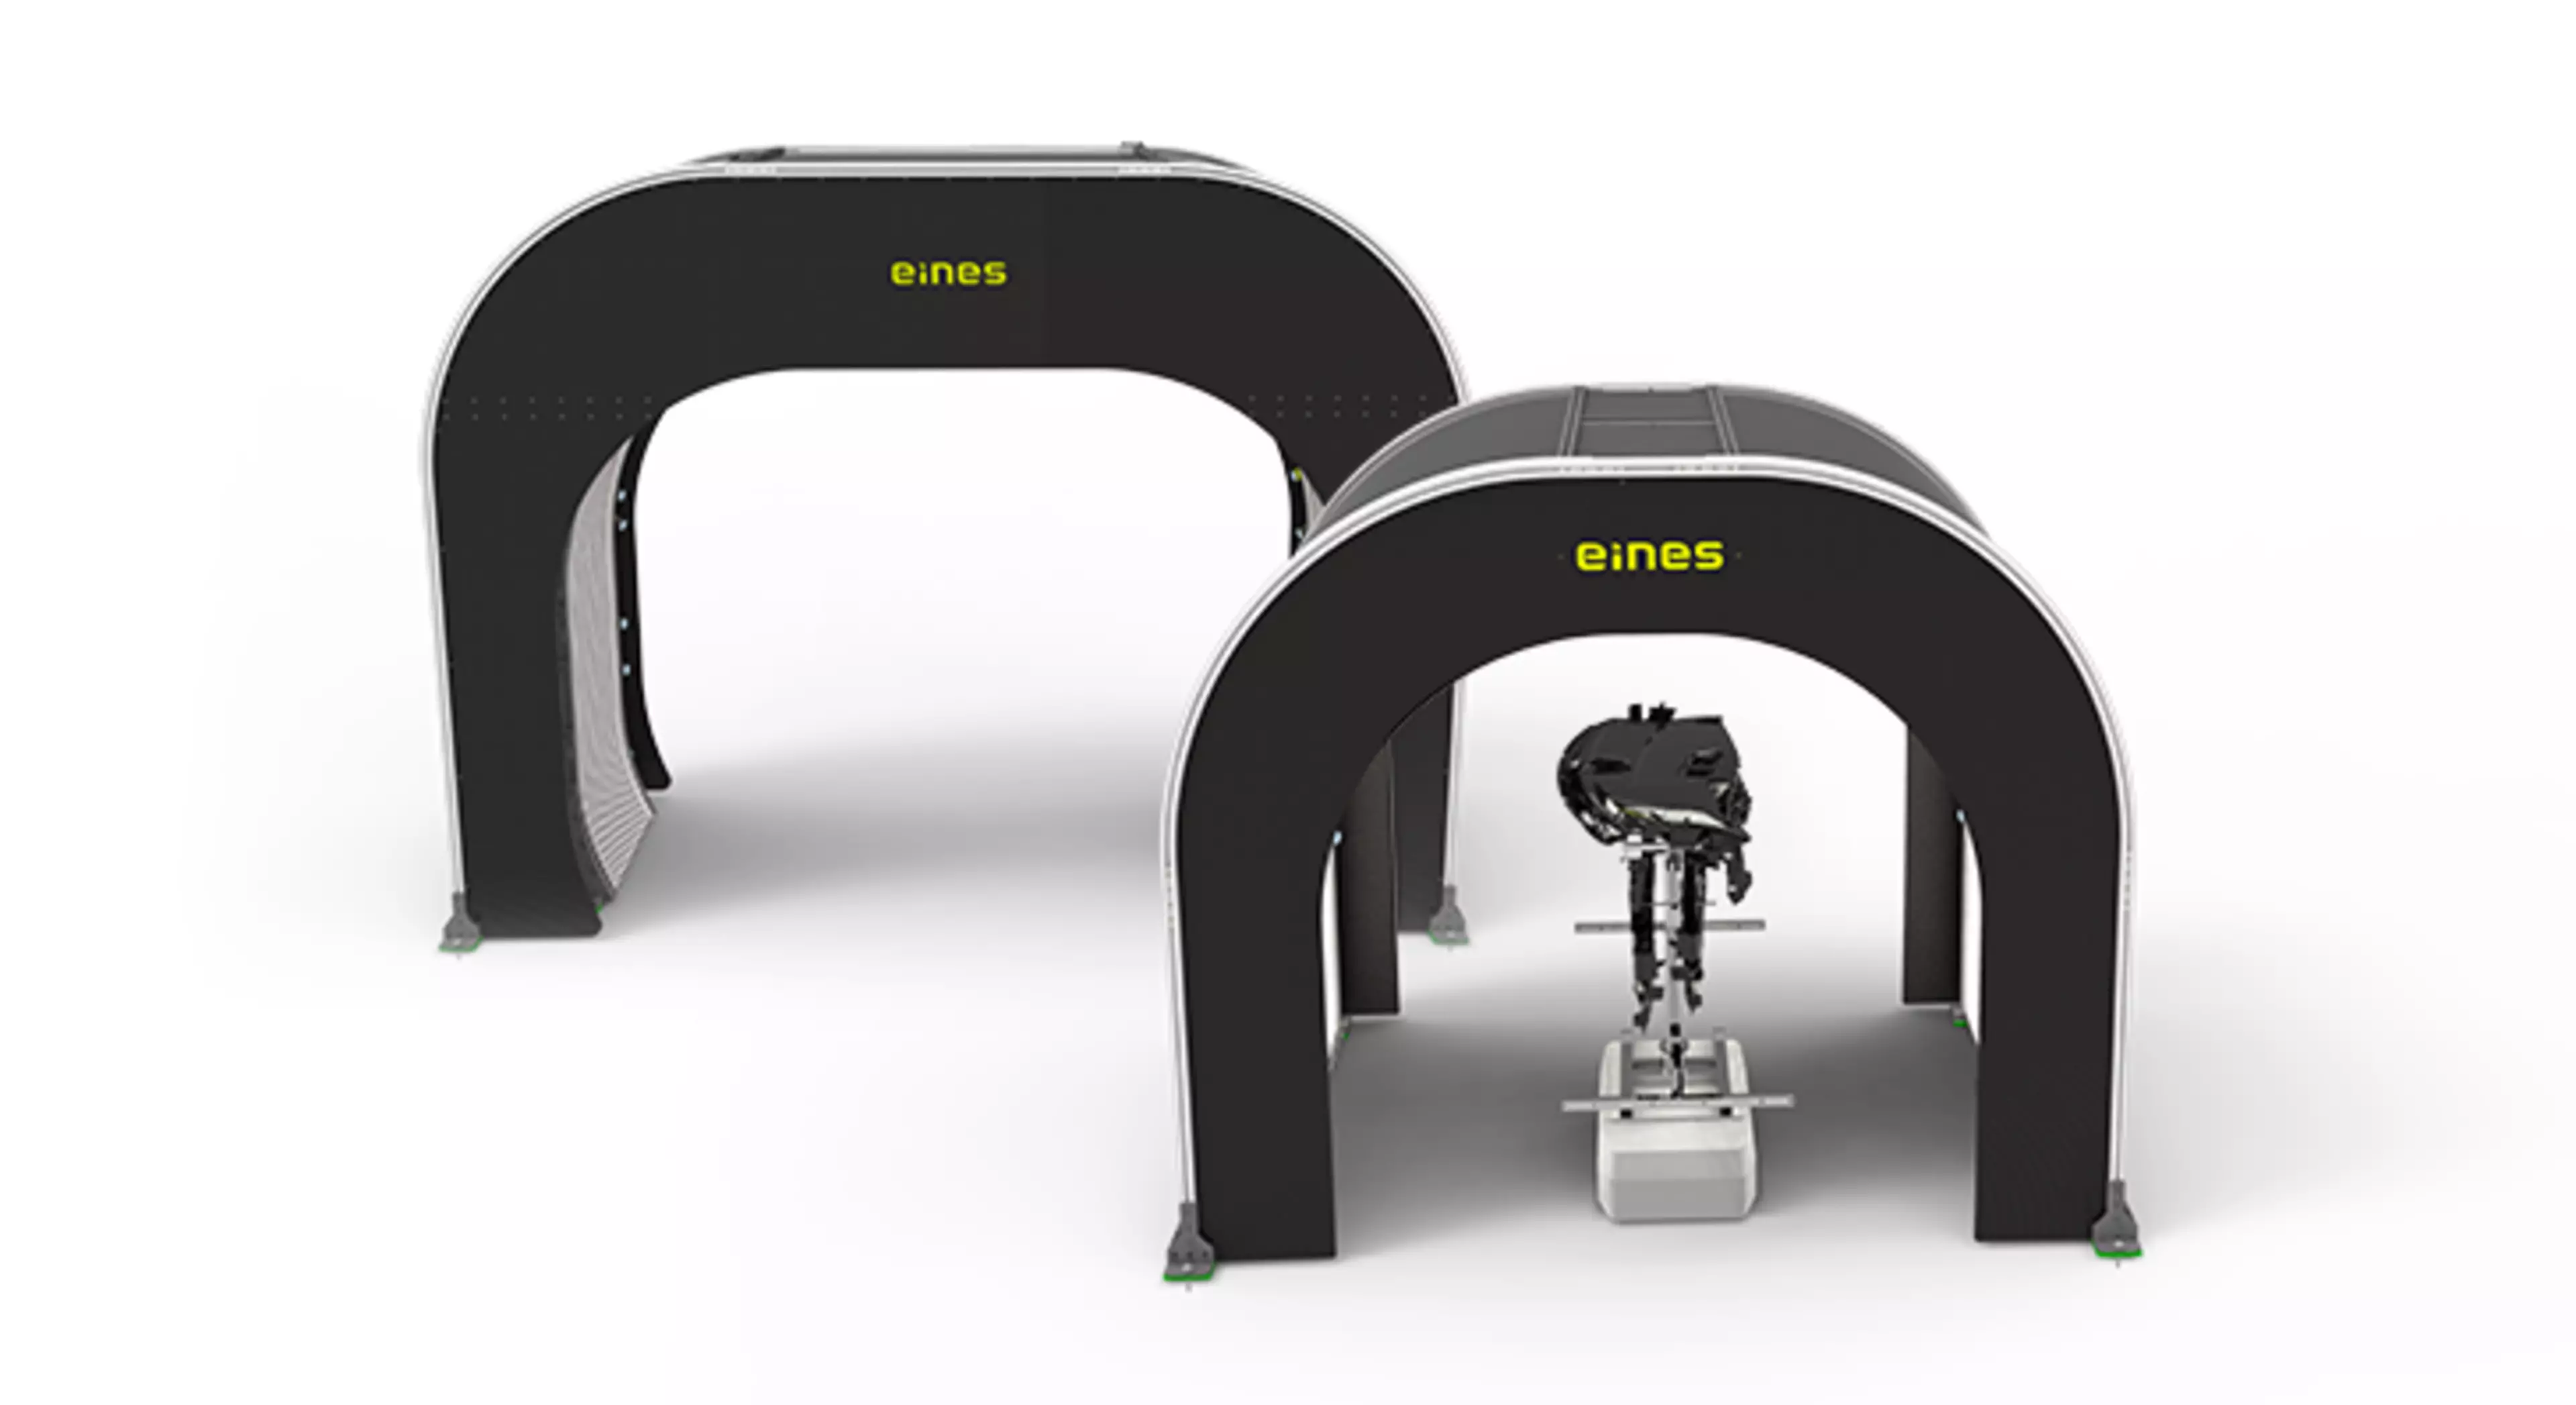
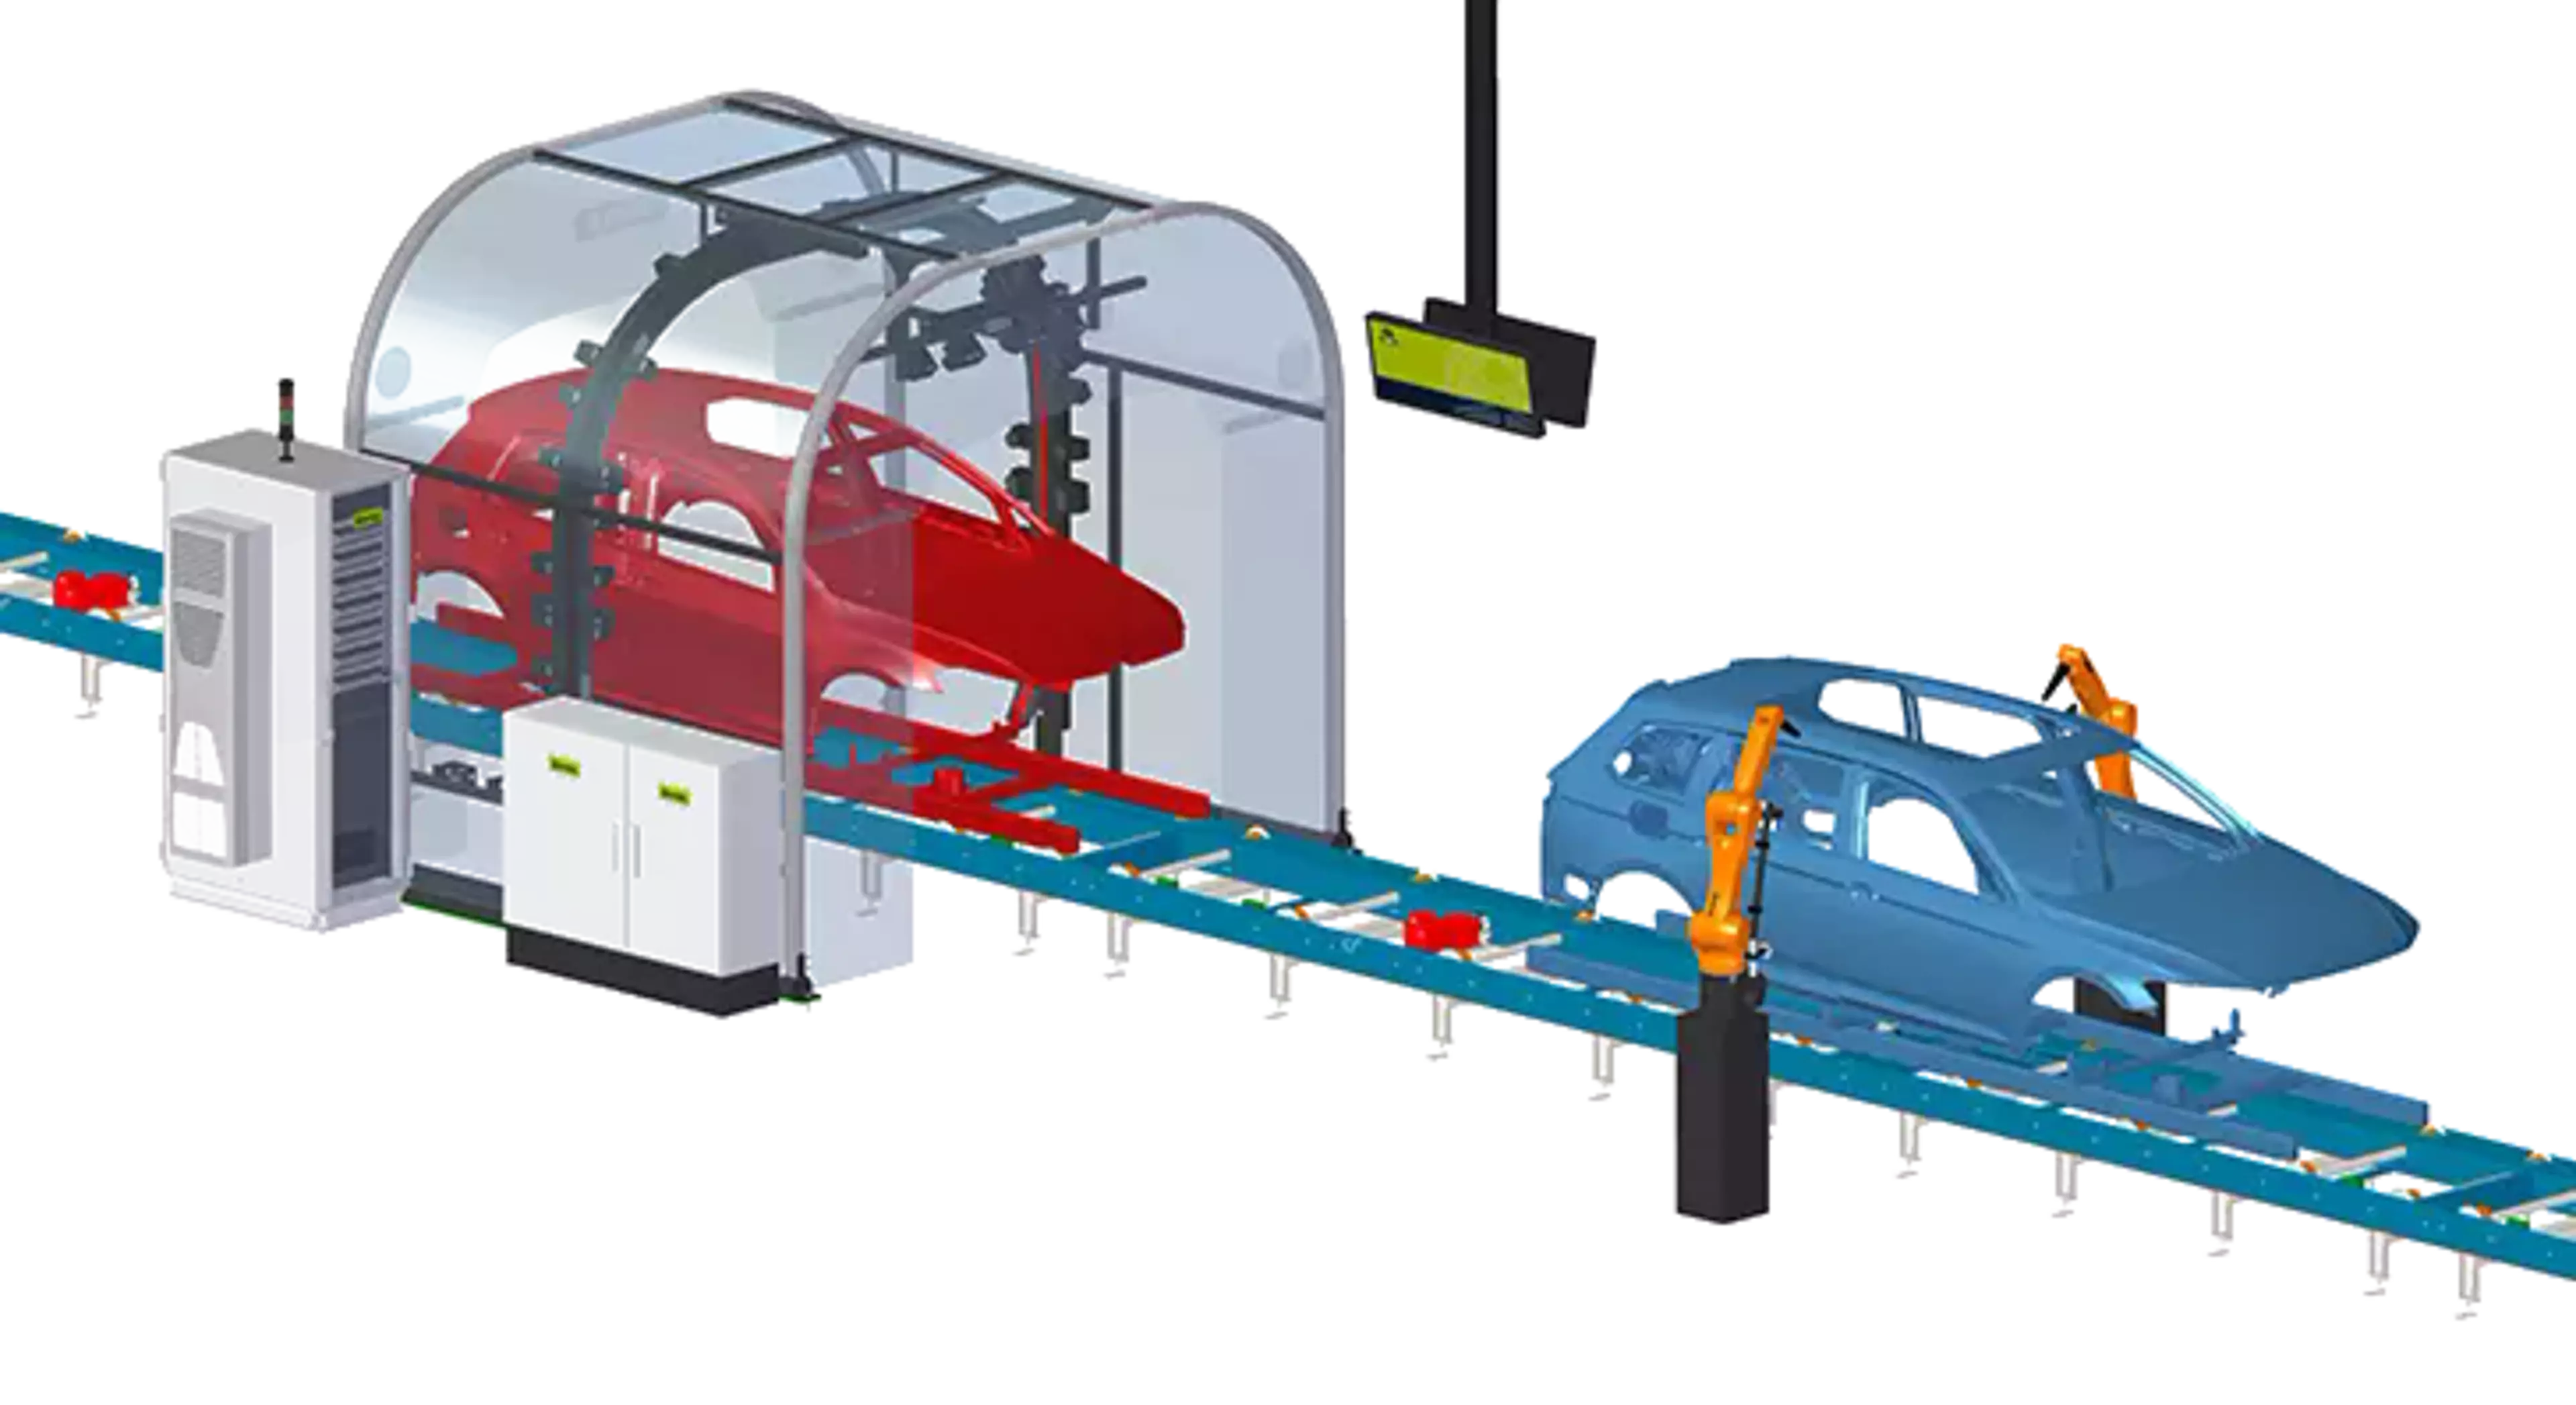
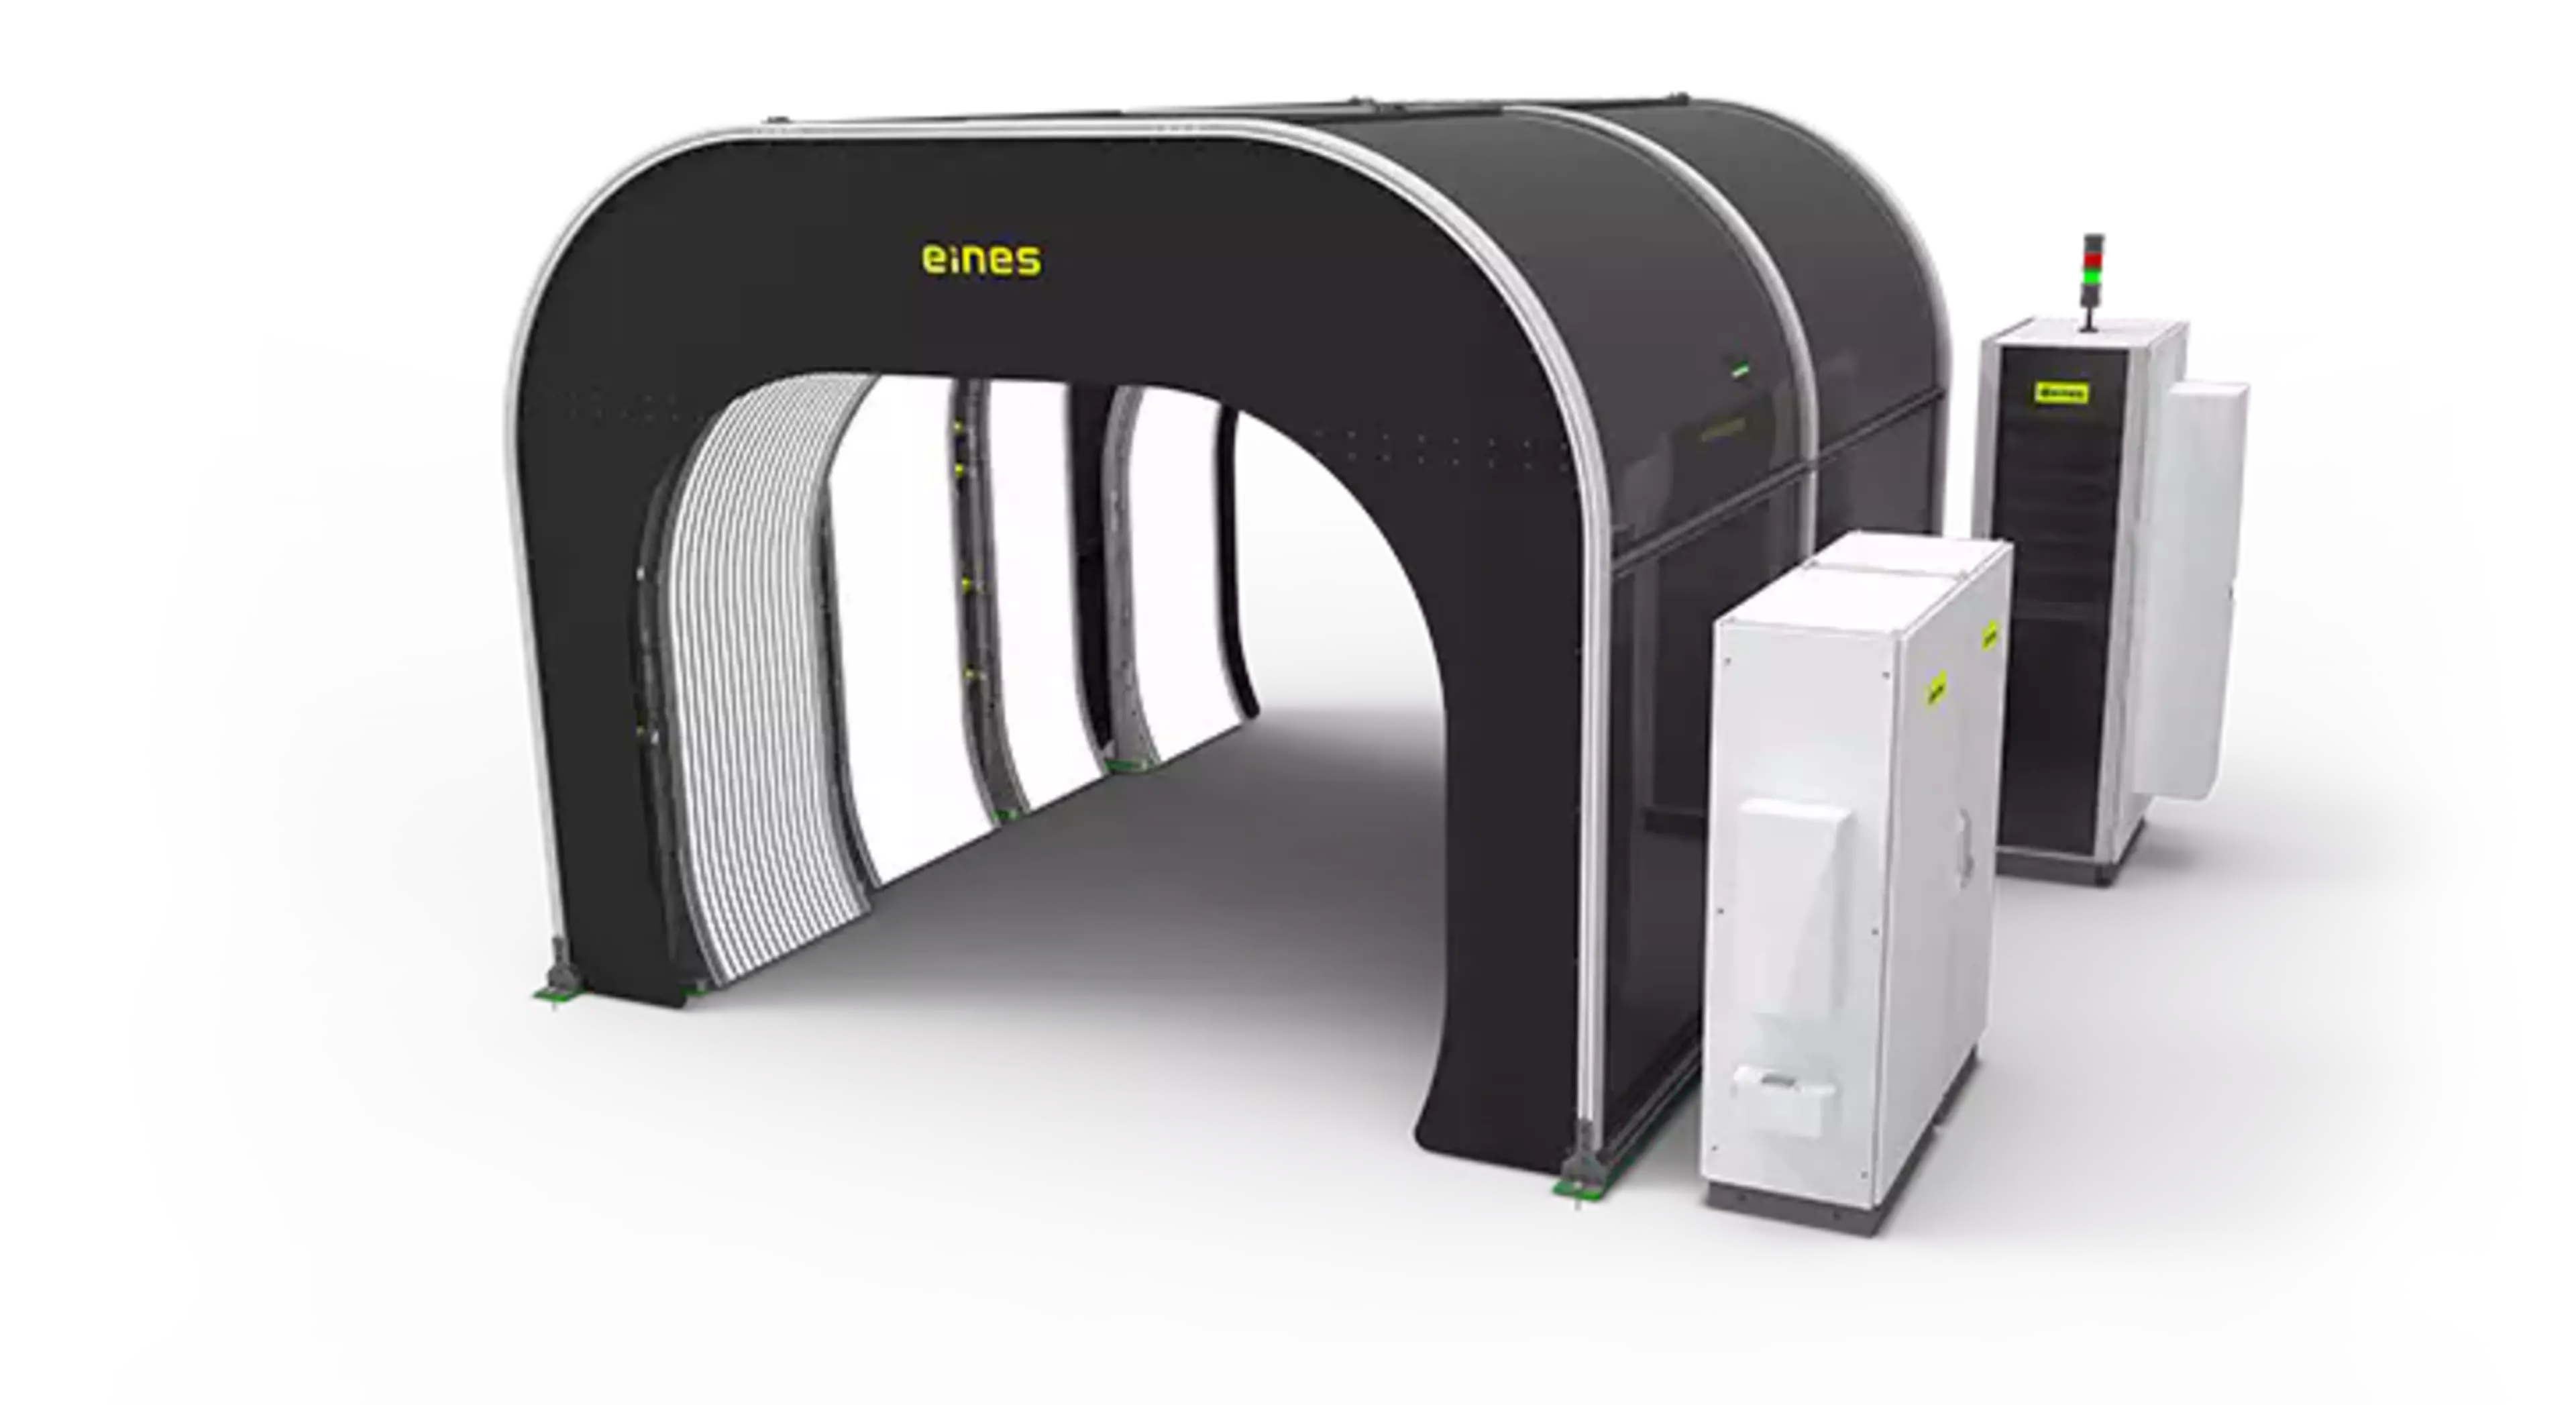
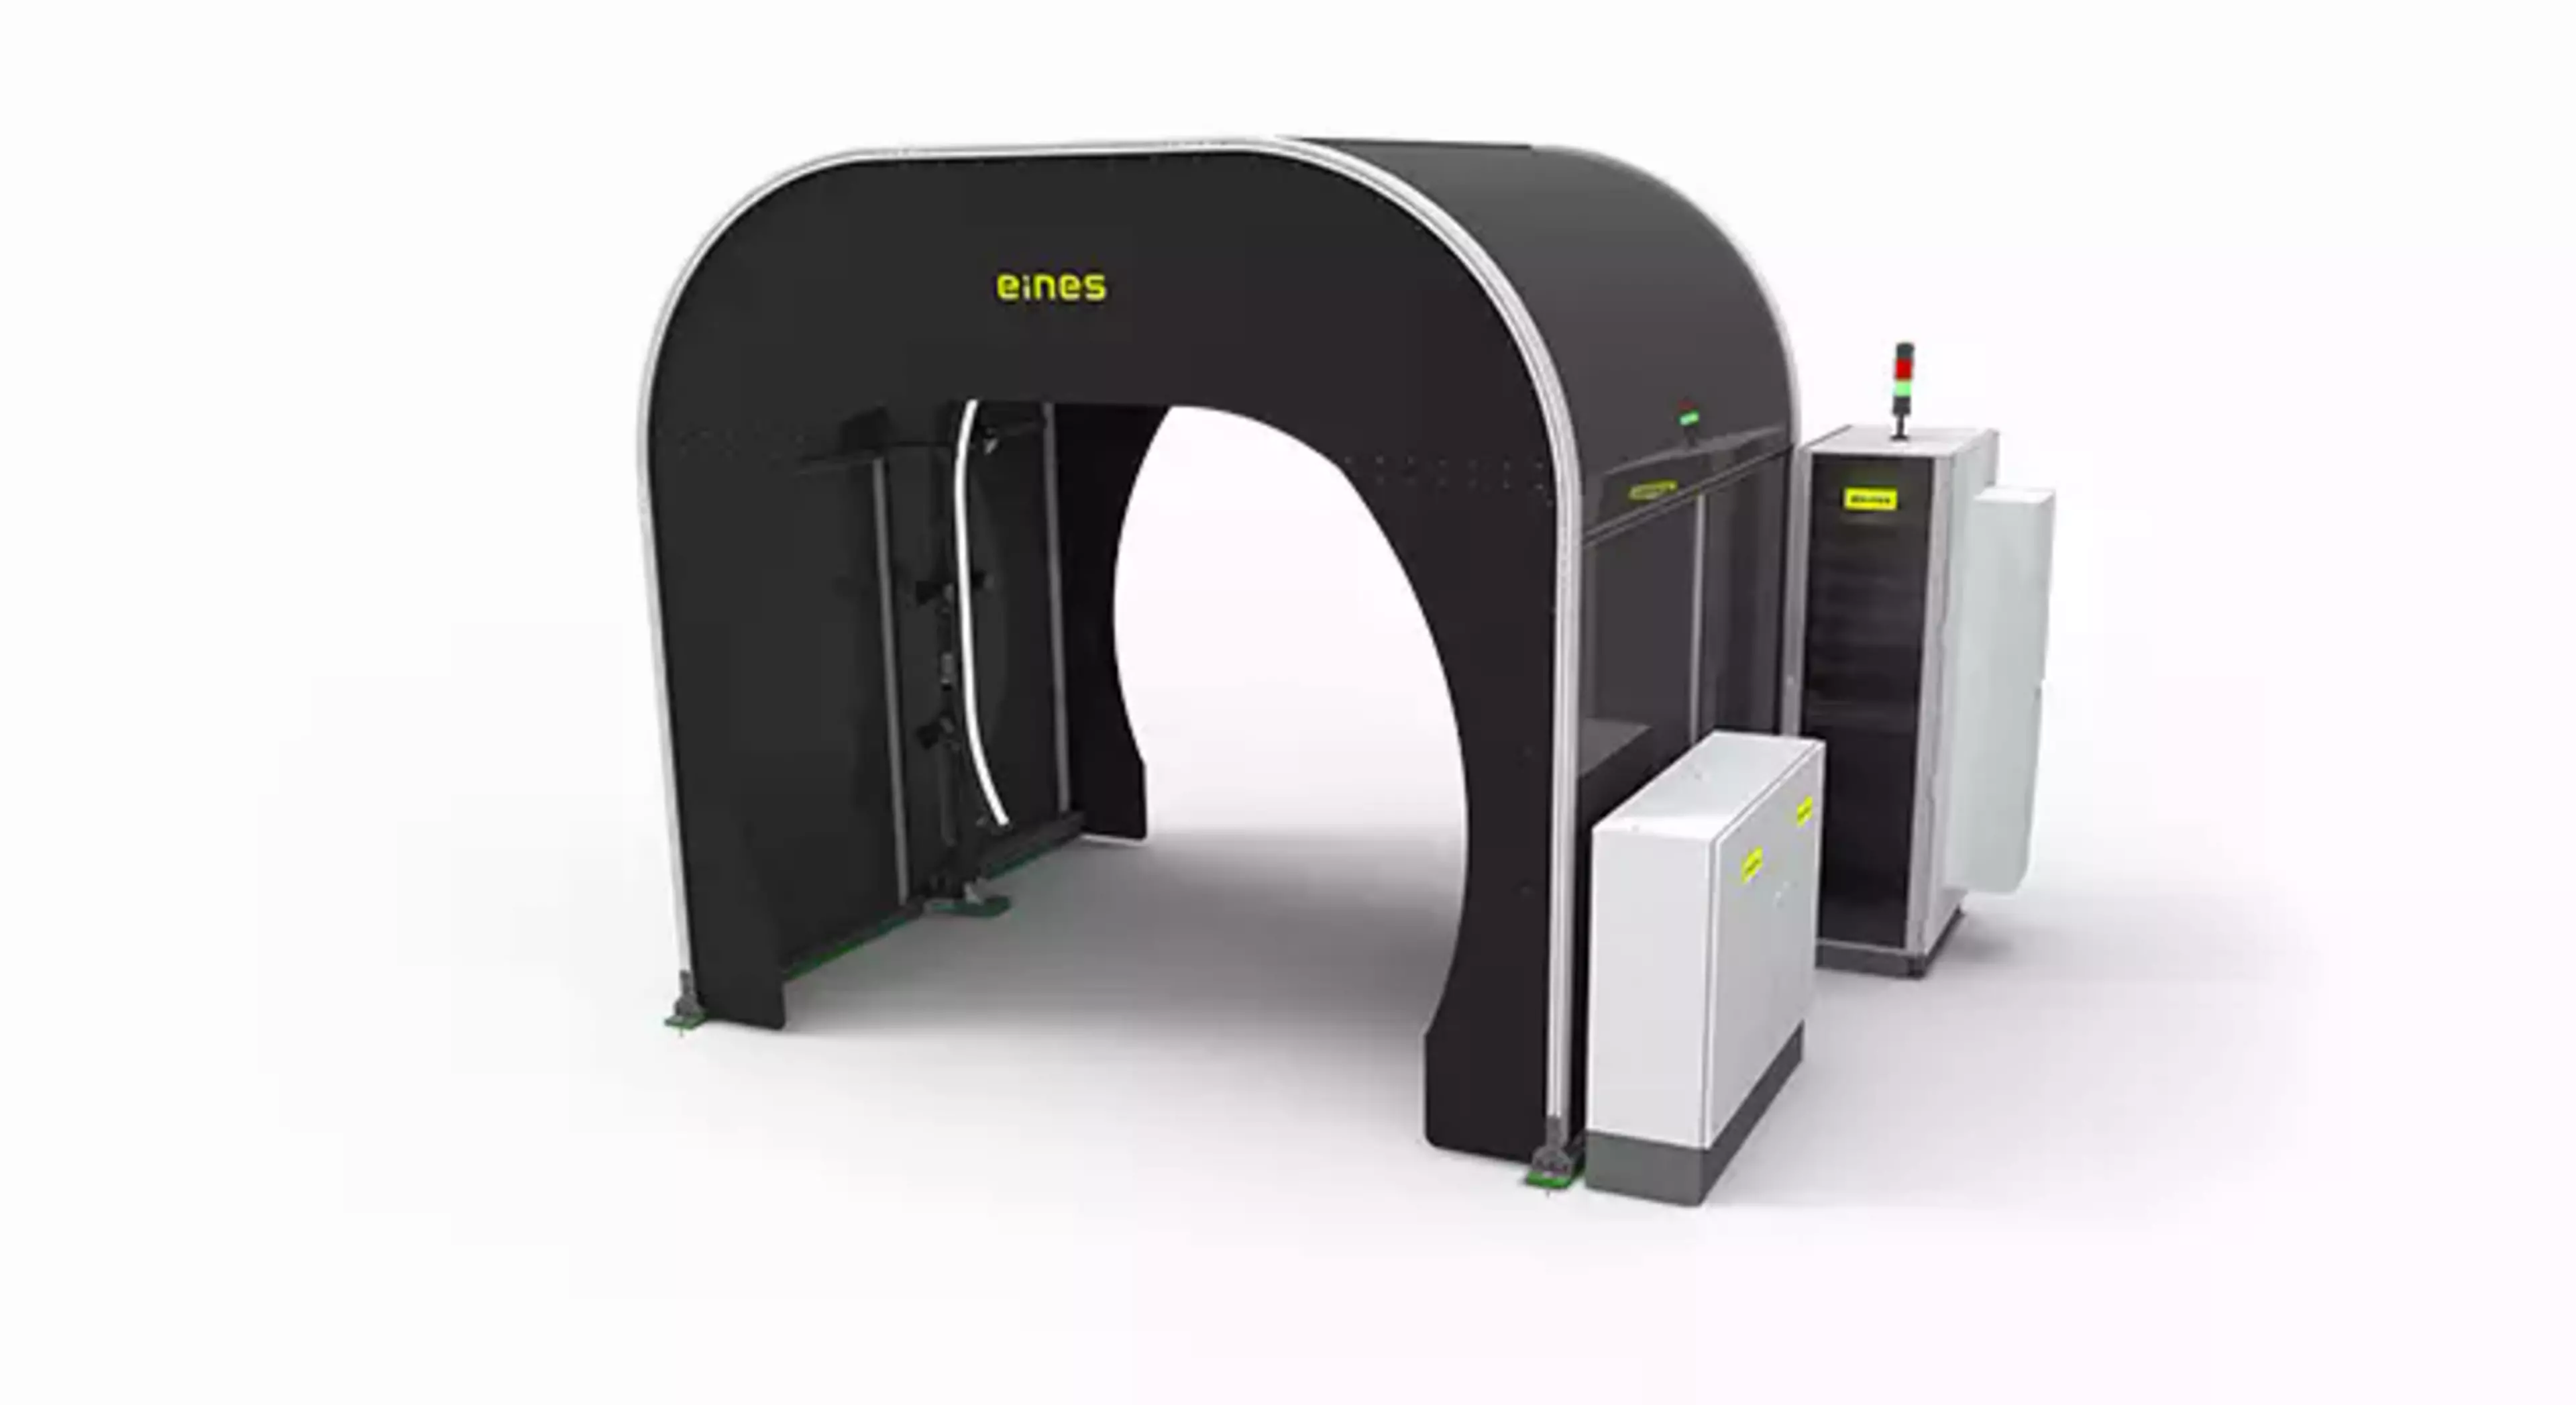
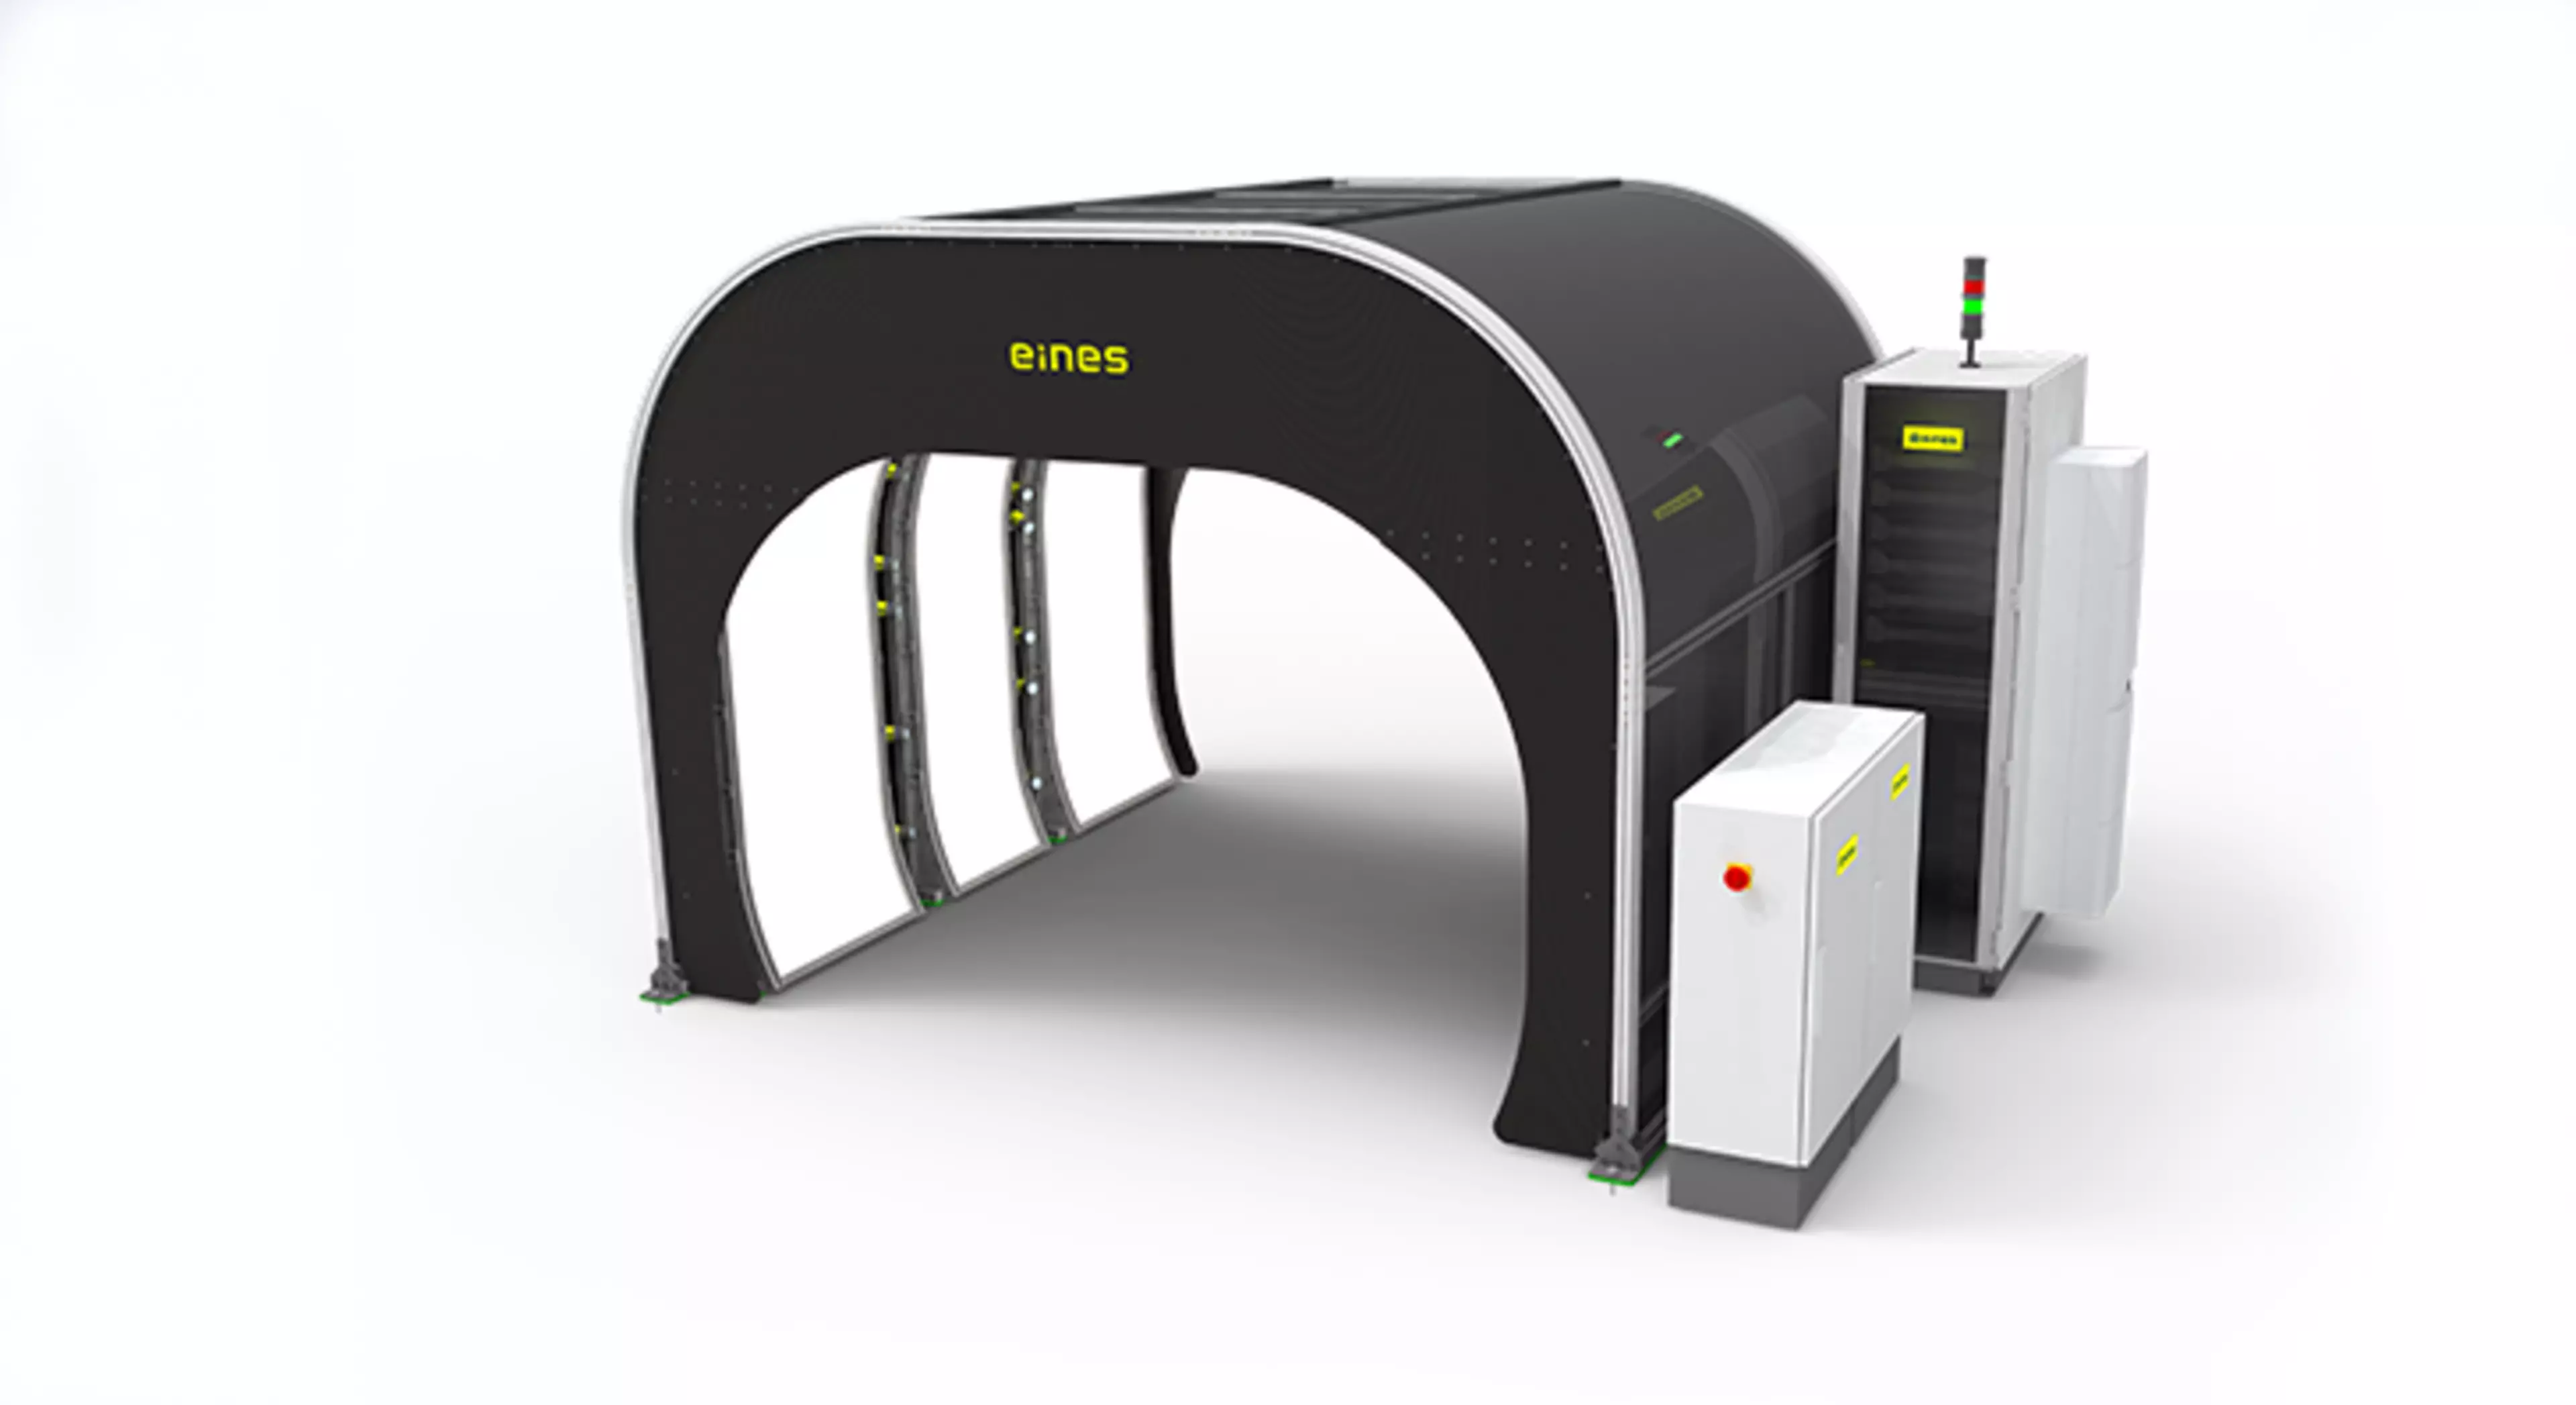
EINES are pioneers in developing solutions for the Automotive Industry. Utilising advanced machine vision technology, Eines help automotive manufacturers to automate paint defect detection, characterisation and repair. Vision Tunnel Systems utilise machine vision to provide inspection for the entire car body, enabling Gap & Flush measurement and Scratch & Dent detection in final assembly.

Multi Error Proofing tunnel systems can scan automotive parts in an AGV line to provide fast, documented validation of assembly throughout production. At the forefront of inspection technology, EINES is developing new products for growing sectors such as EV Battery inspection and are introducing Deep Learning technology and 3D Scanning to advance the speed, accuracy and utility of automotive quality control systems.

Features

100% Inline Measurement

Every car is inspected with no line stoppages. A scanning simulation can reproduce defects, giving traceability and the basis for substantial analysis and reporting.

Cost Effective

It has a straightforward maintenance procedure that can be executed with minimal costs. Feedback is immediately provided to repair operations resulting in improved repair activities and cars leaving the production process within specifications.

Different Functions

Available tunnel solutions are the Paint Inspector, Gap & Flush measurement with optional Scratch and Dent detection and Multi Error Proofing systems that can check different parts of the vehicle, Spec Chek and more depending on your needs.

Flexibility and Automatic cycle time adaptation

The tunnel can analyse any car model and colour variant. Moreover, our technology can process thousands of images per car on a moving line. This way, cycle time is not increased.

No robots

The system has no robots or other moving parts. Therefore, it does not need safety and security measures. We can install the tunnel within a few days, requiring no major construction work or a shutdown.

Small Footprint

The system has a small footprint and needs no extra security measures. Also, the installation timing is short, with no major construction work or shutdowns.

    Solutions for Vehicle Quality Check

    Defect Classification and Big Data

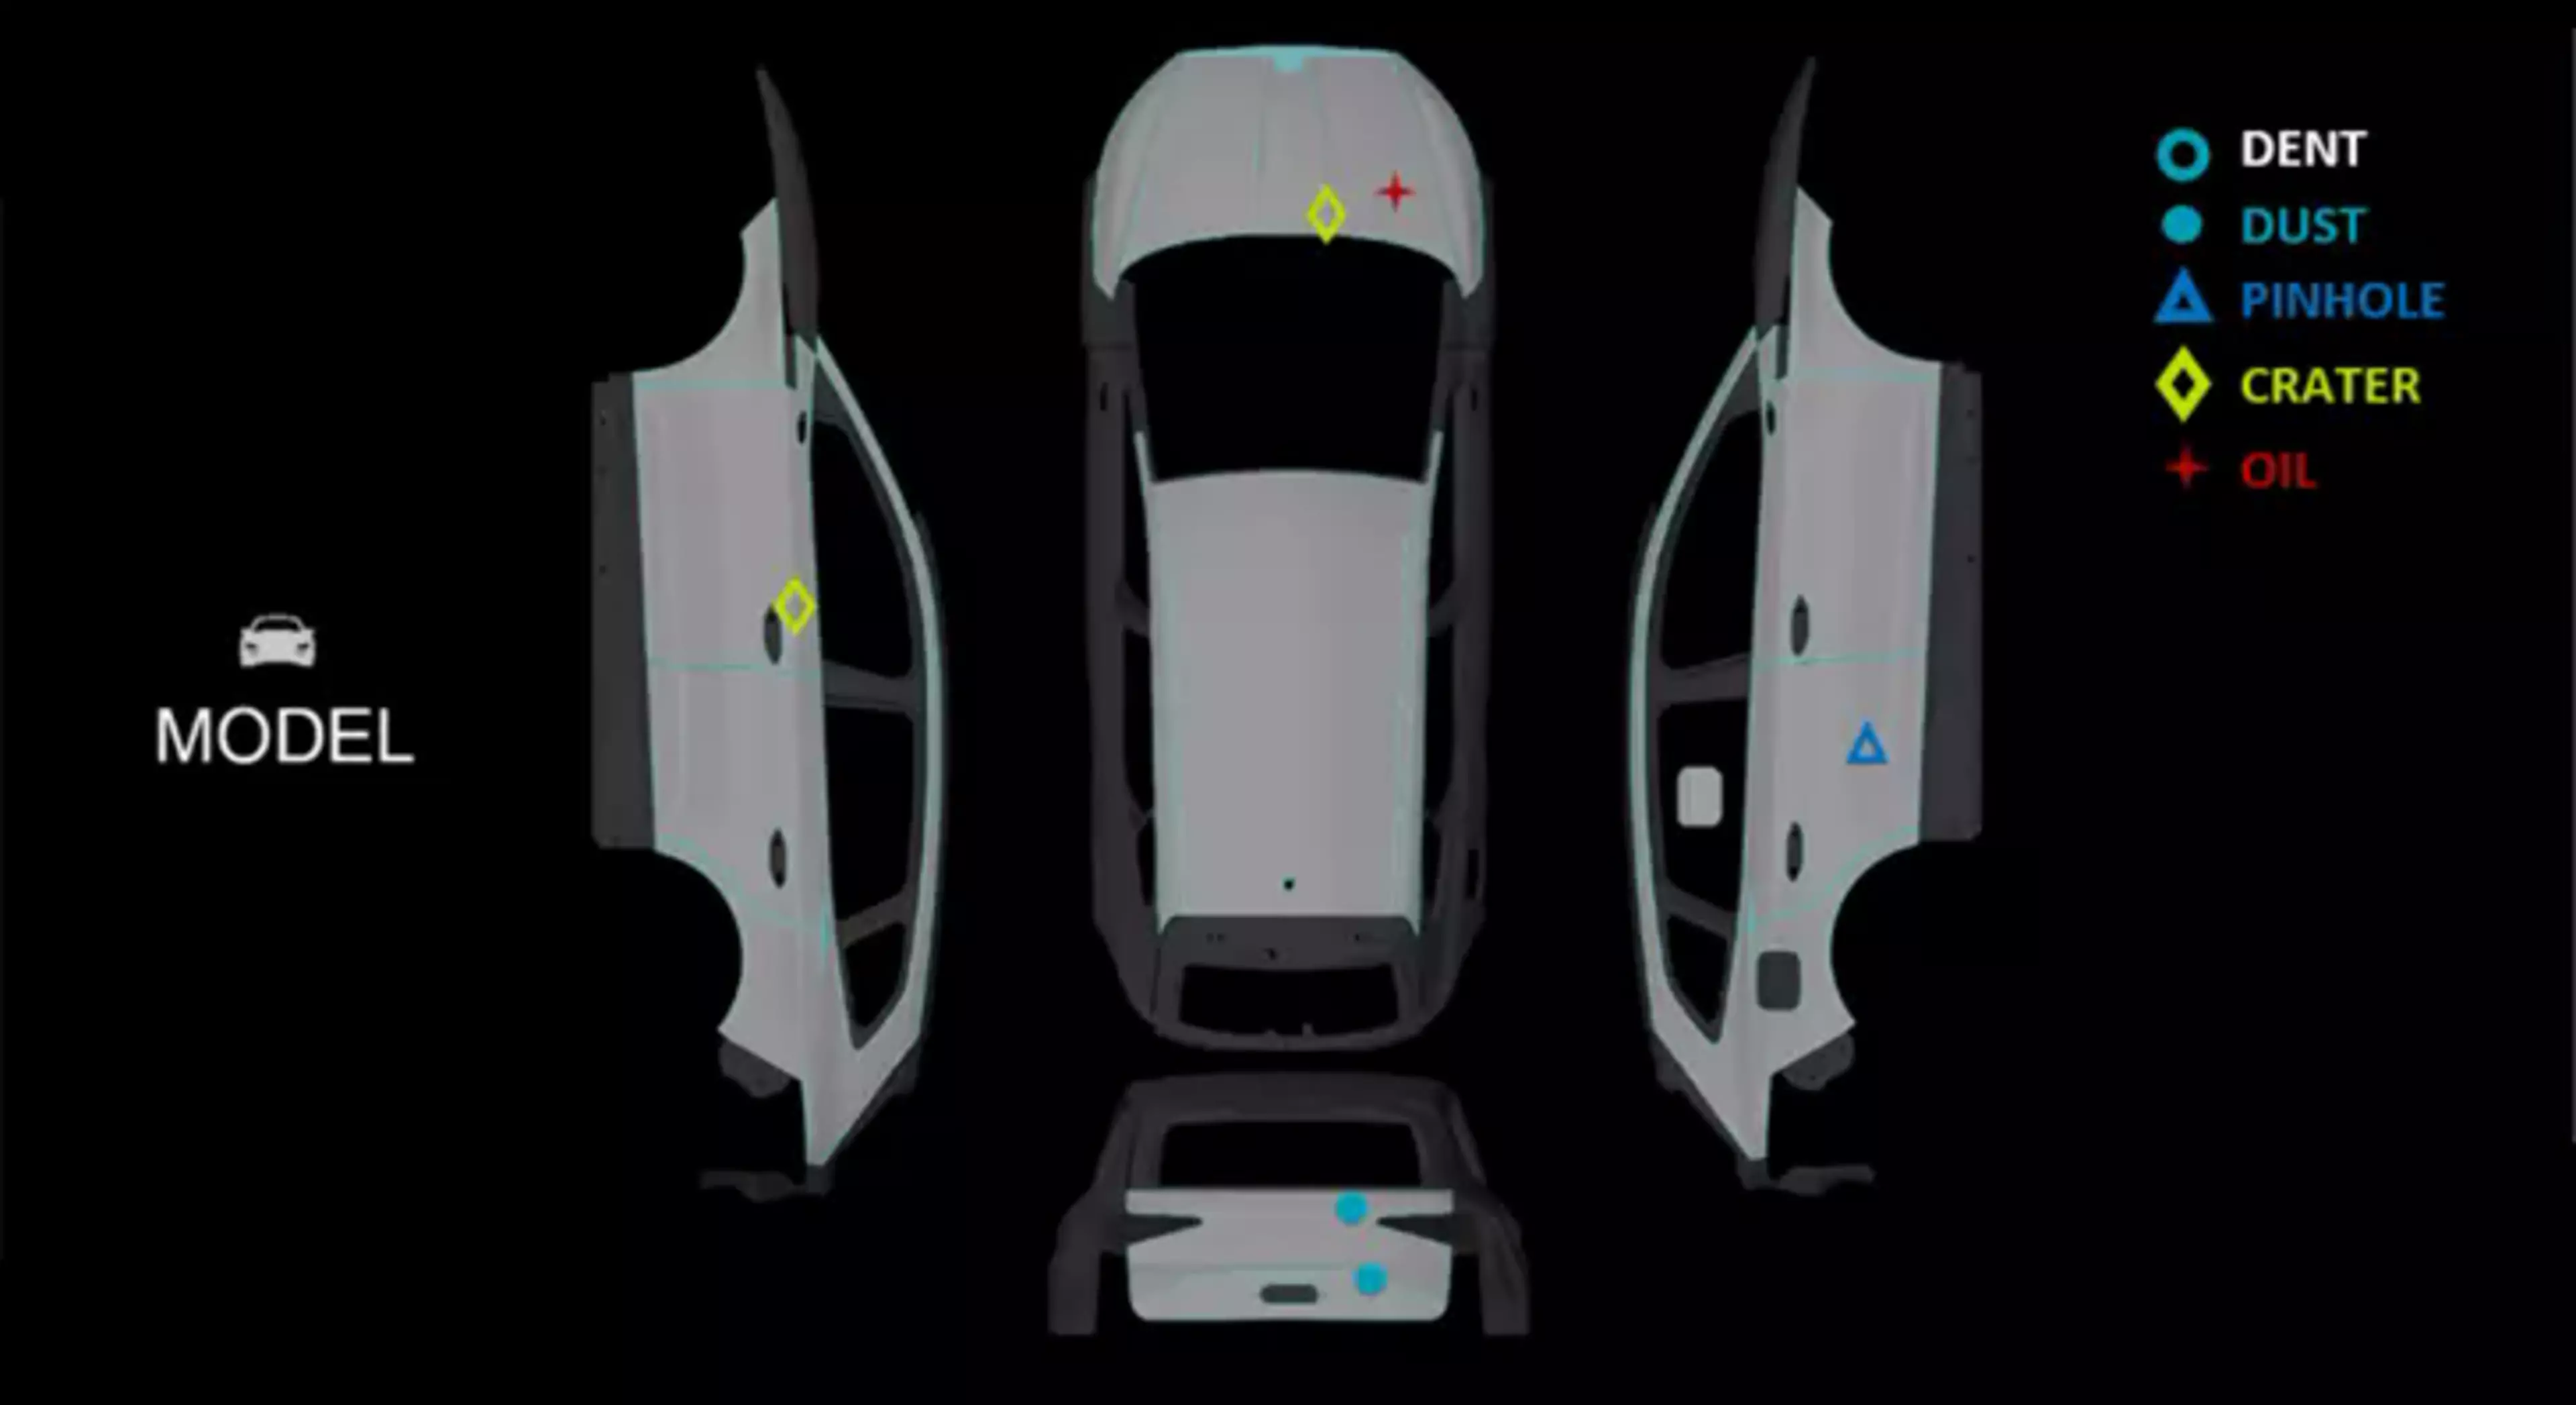
    The EINES® Paint Tunnel scans all defects across the vehicle surface. The system provides a 3D positioning of the defect’s specific location in real-time, showing or actionning on the results just after the vehicle exits the tunnel. A variety of report and analysis functions are available to suit your needs.


    EINES® and Konica Minolta have developed a classification system using Deep Learning. The system can classify defects into different groups such as flat, fibre, convex, concave, scratch, drop, bump and dent which can benefit root cause analysis, targetted corrections and reduce the need for subjective assessments of human observers that slow the line

    High Accuracy in Measurement

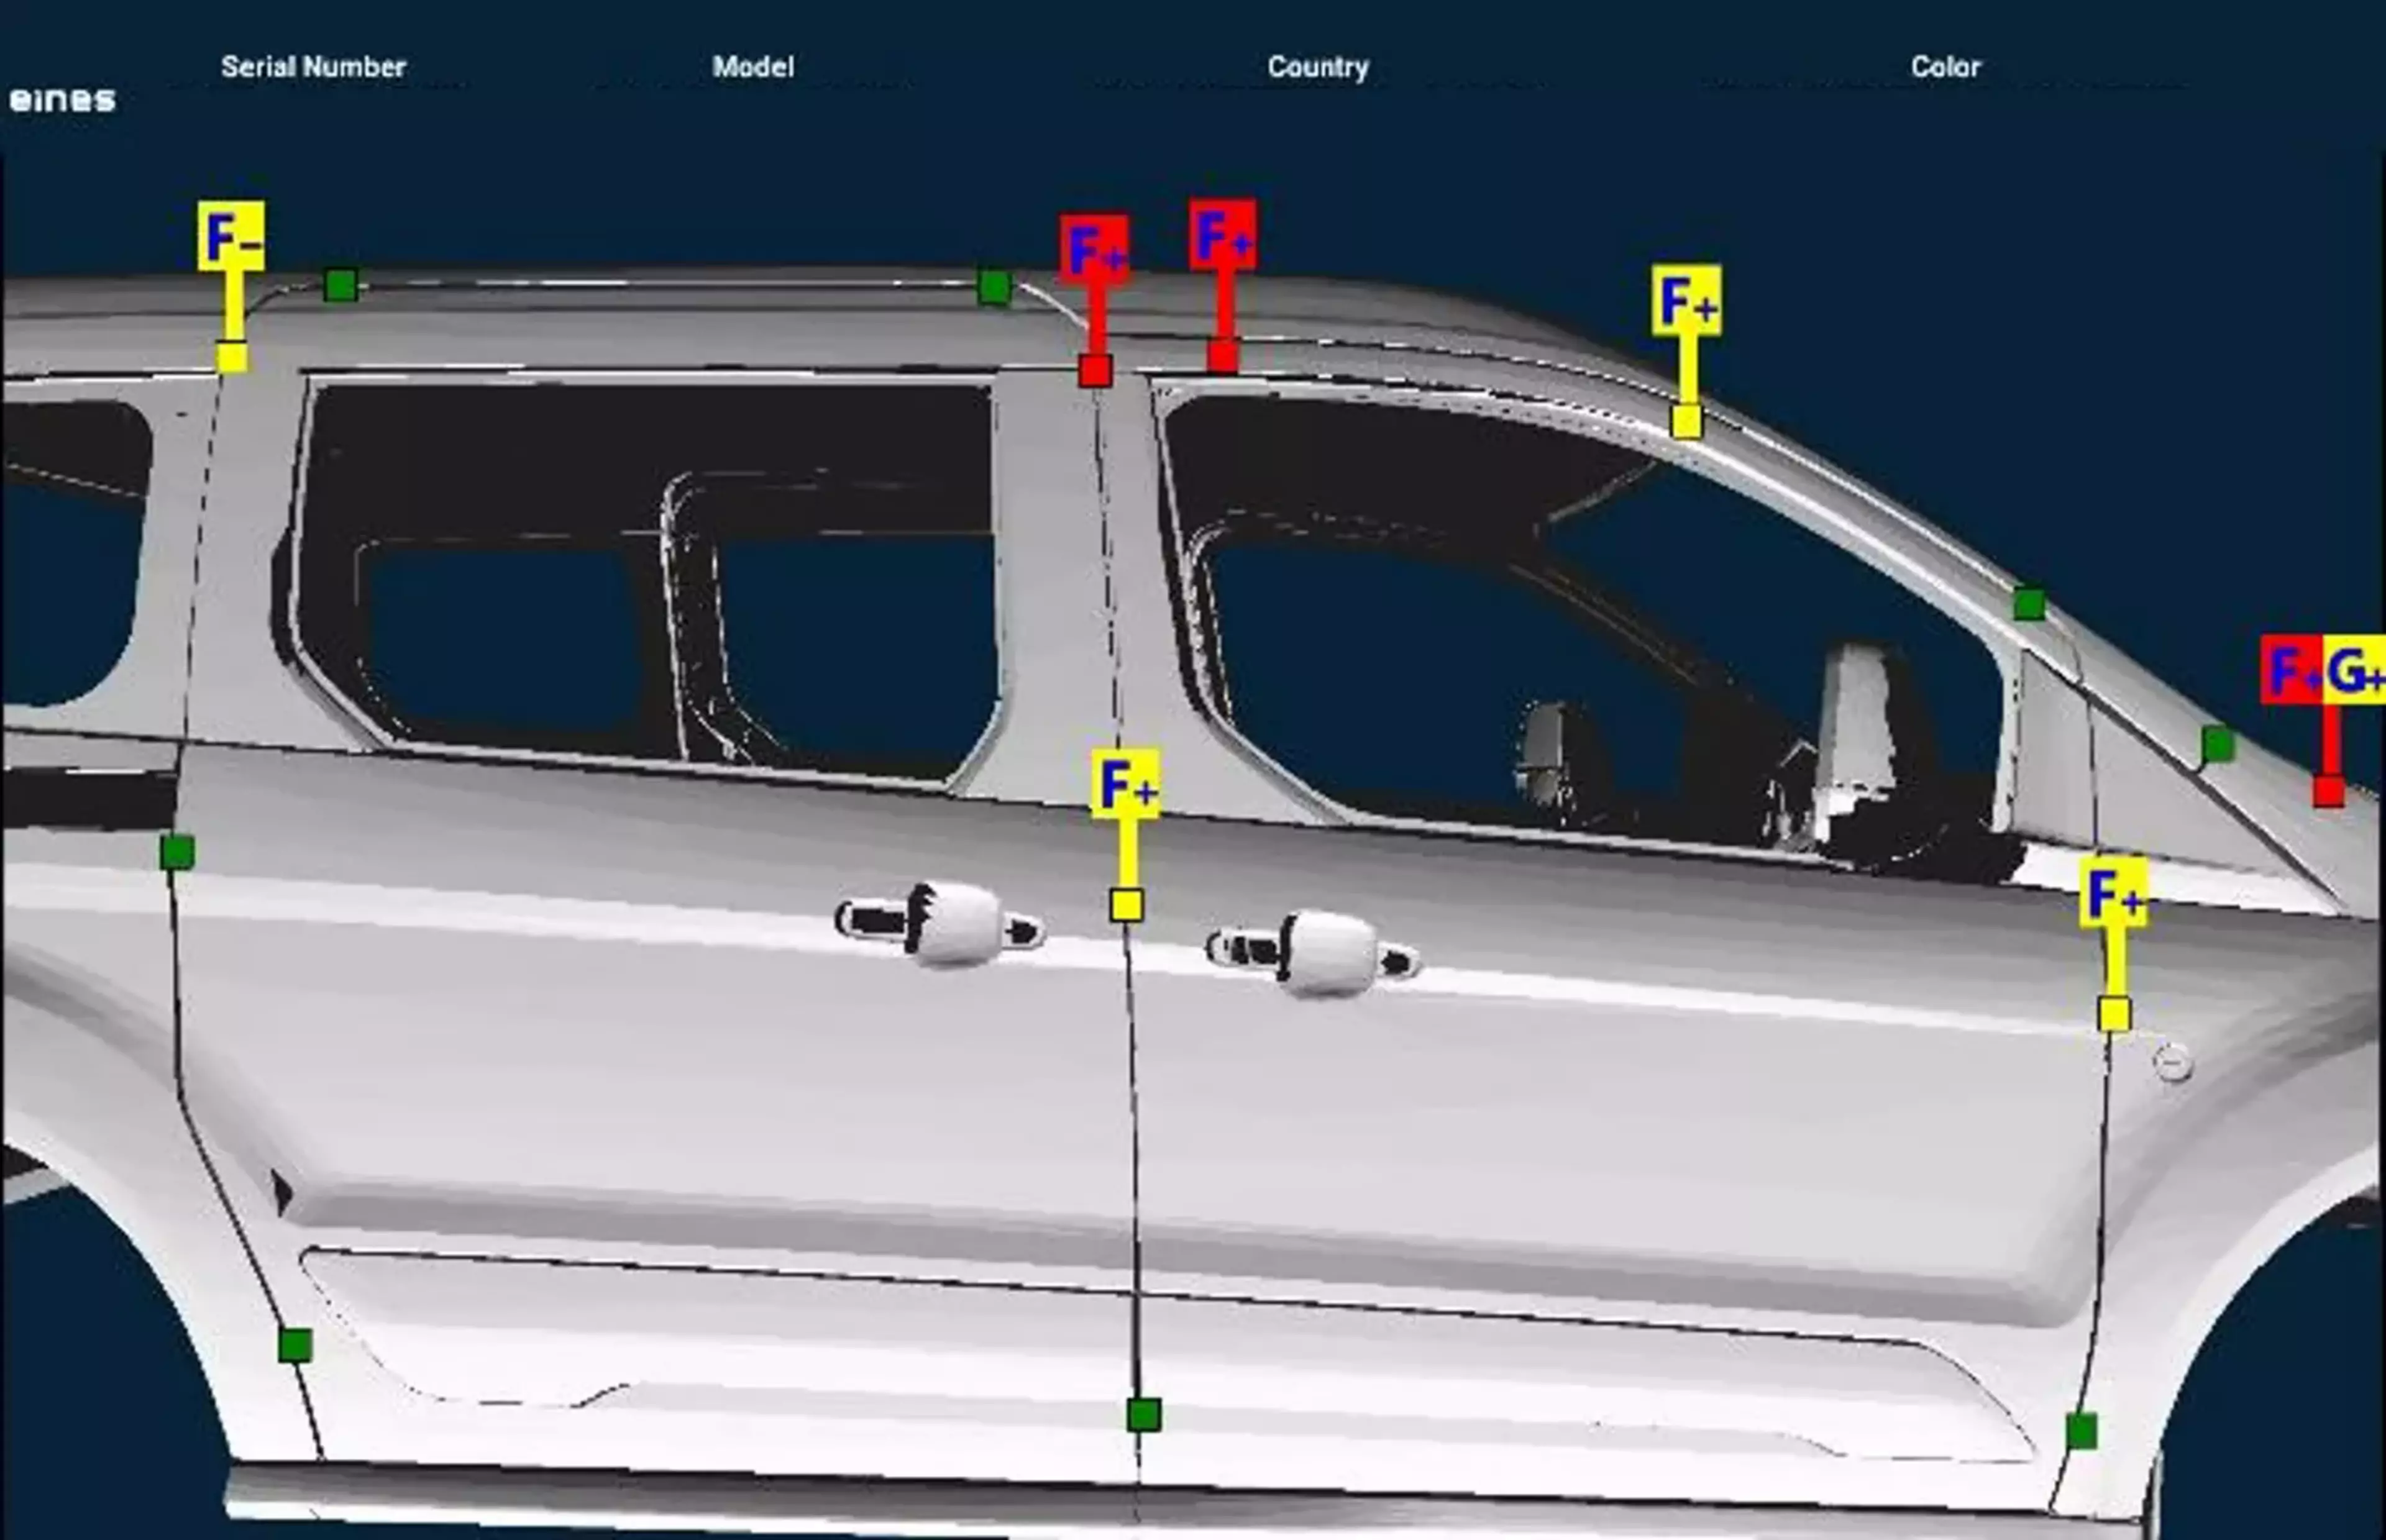
    Gap and Flush inspection between assembled automotive closures and bodies is a critical factor in modelling a car’s aerodynamic performance and, in turn, determines fuel efficiency, reduces wind noise concerns, door closing effort, improves overall body fit-and-finish, increasing the effectiveness and efficiency of your resetting process and resources in body and assembly processes.


    The vision system provides immediate feedback in a familiar user interface. It also has integrated reporting, which is key to analysing the performance of systems, processes and interverntions.
    Spec Check & Scratch & Dent Detection

    • Defect Detection: Scratches, fingerprints, dents and bumps.
    • Multi Error Proofing: Eines also has a Mini Tunnel Solution for automotive parts in AGV.
    • Spec Check: The vision system is capable of checking the underbody, alerts and warranties, part coordinate system metrology, scanning a data matrix and Optical Character Recognition (OCR)
    • Flexibility: Eines designs its Multi Error Proofing solutions depending on the customer’s needs. Our vision technology can detect multiple issues, parts presence or absence and this tunnel can be combined with Gap & Flush solutions to finish with a complete final check.

    Upcoming Webinar

    Join our virtual event to know more about our products. We will discuss how our tunnels enable Smart Manufacturing processes and cost reduction while avoiding robots in automotive facilities.

    EINES® Inline Automatic Defect Repair

    EINES® Inline Automatic Defect Repair is a system integration that enables the Process automation of the entire automotive paint quality control methodology.


    1. Precise Defect Detection & Positioning
    2. Defect Categorization: Thanks to Deep Learning and Artificial Intelligence (AI)
    3. Defect Repair interface: Paint defects are prioritised, and the best parameters to repair are sent to the robot
    4. Auto-Repair Robot fixes the vehicle defects


    “All in one” vision tunnel

    The “All in one” vision tunnel includes Gap & Flush measurement and Fit & Finish features. It can detect surface defects such as Scratch and Dent. It finds deviations related to wind noise, closing efforts and water leaks. It is the perfect final check to ensure customer satisfaction.


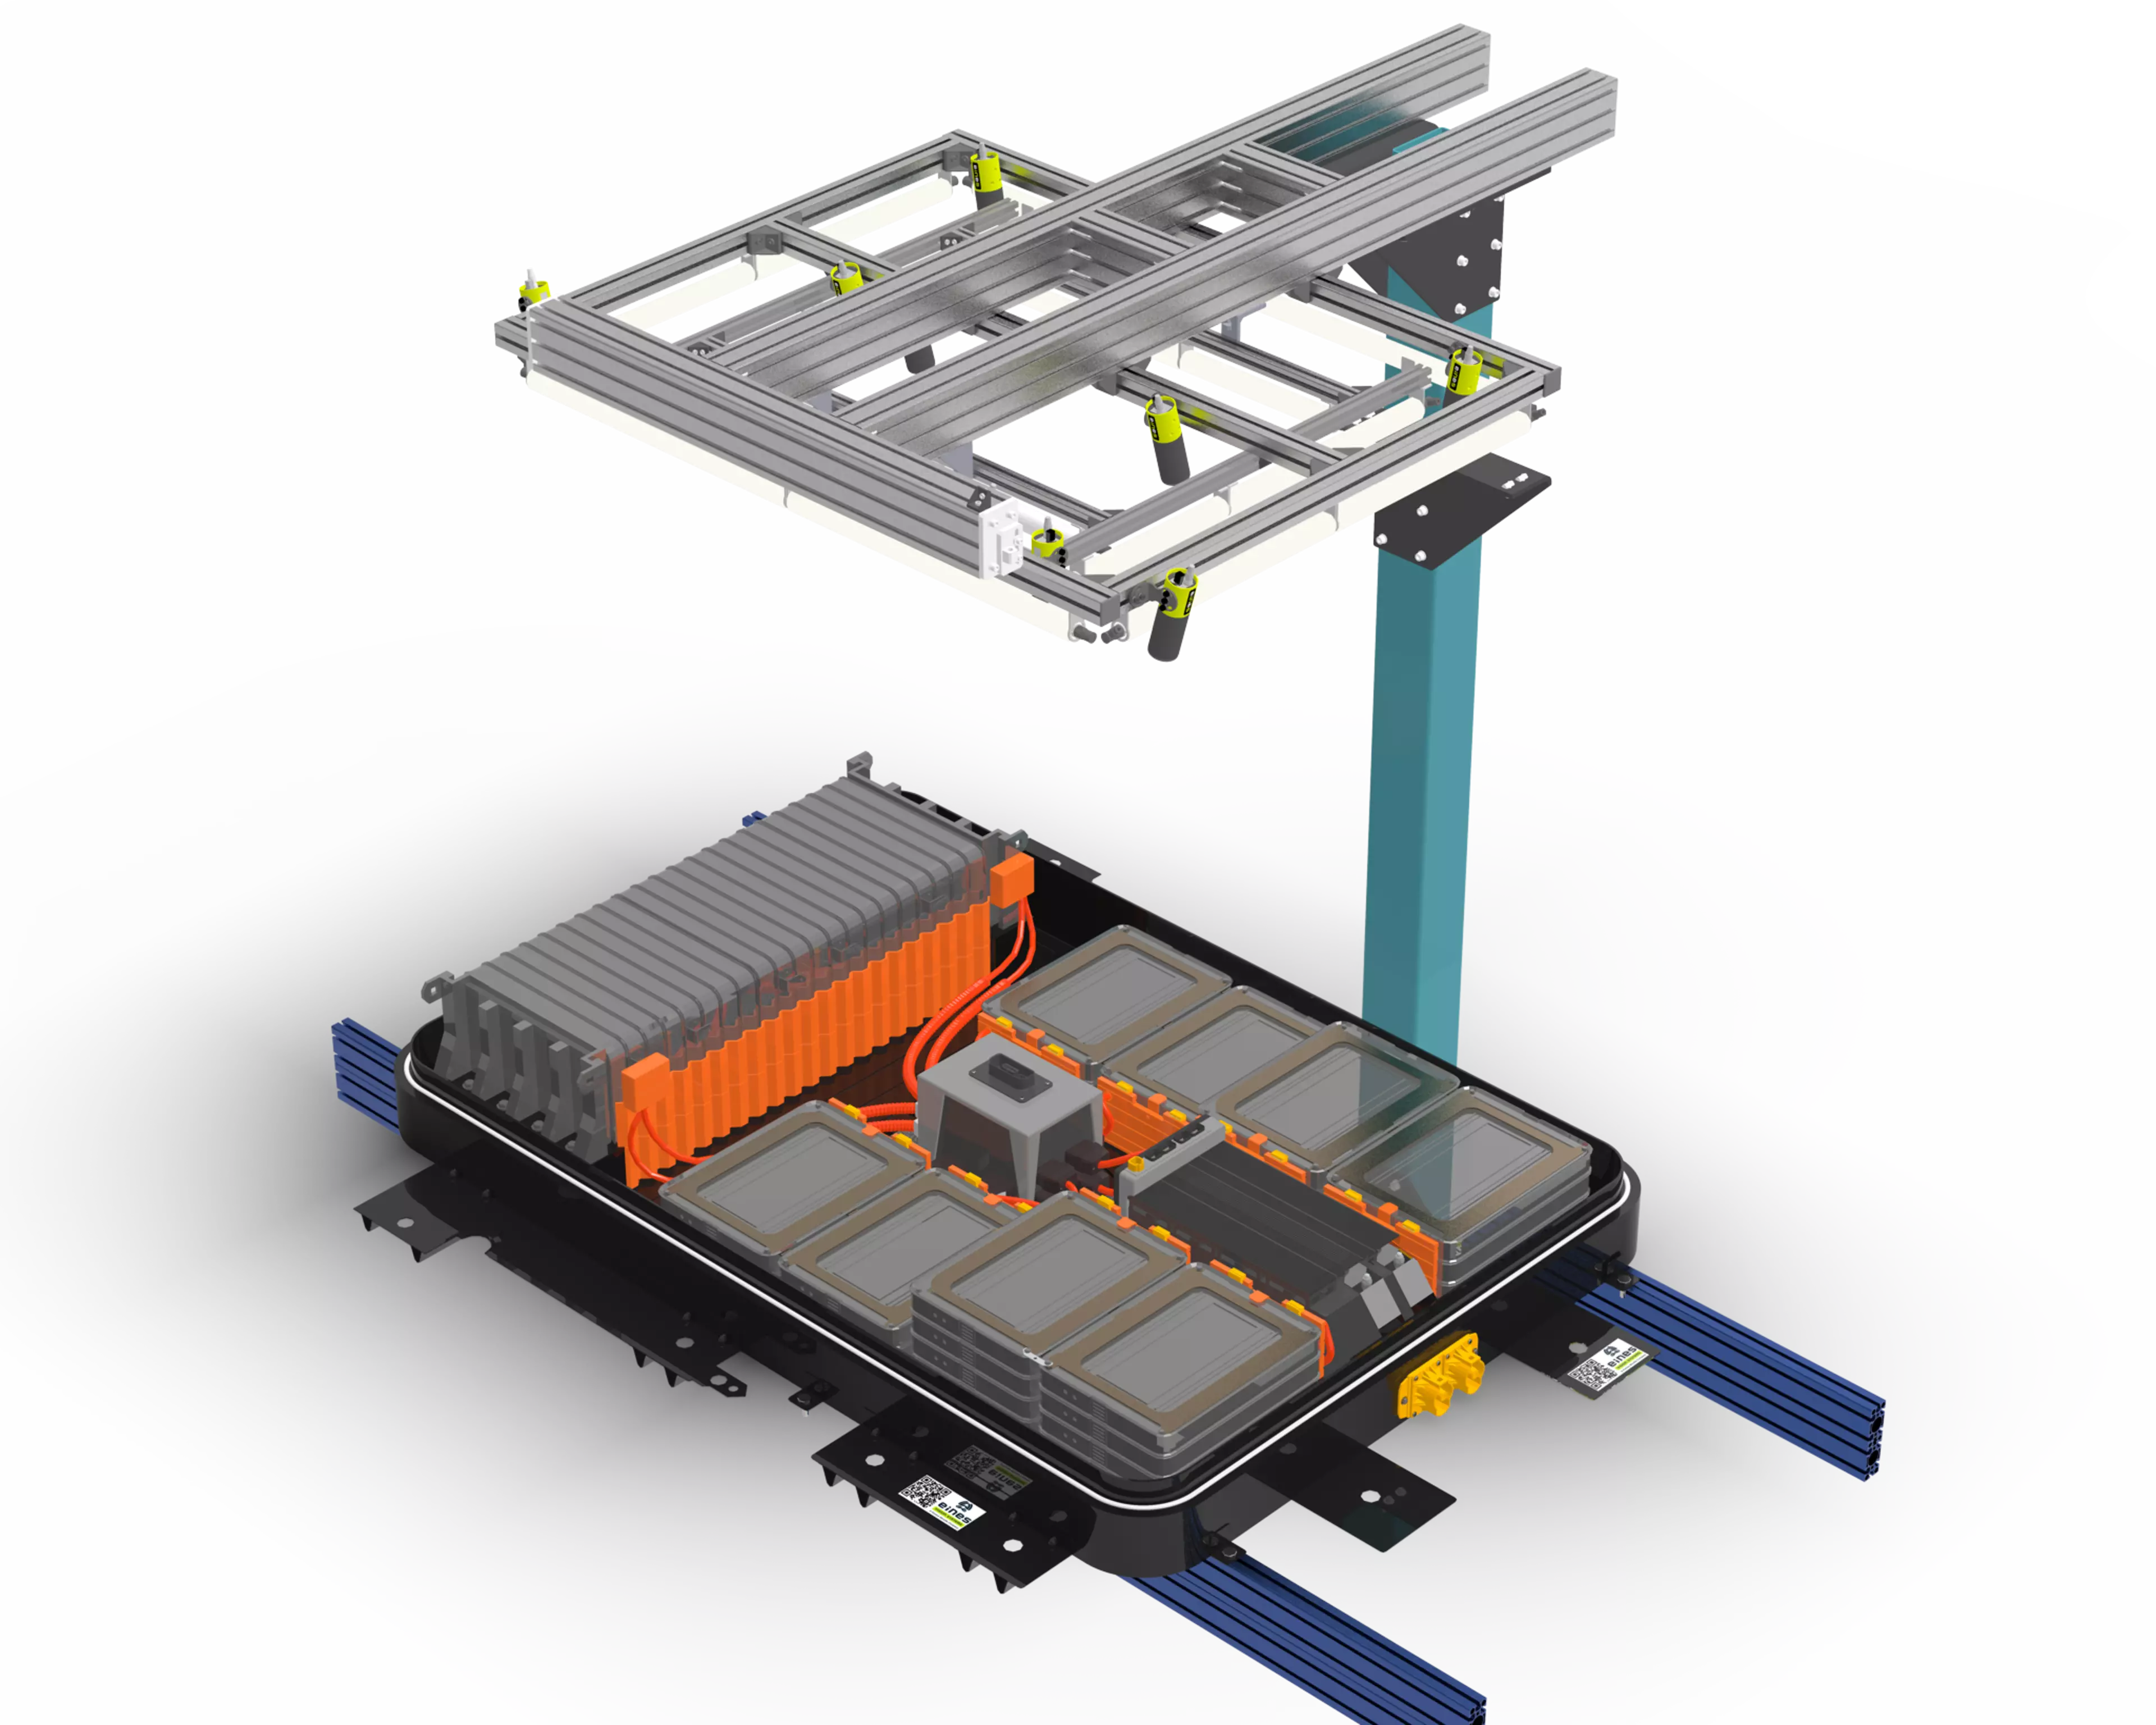
    EINES EV Battery Suite Solution

    • Metrology: TIM Bead Inspection and battery cover seal inspection. It calculates length, width, position on the plate and relative location between beads.
    • Parts Identification and Multi Error Proofing: Battery Assembly Assistance and Check of Battery Arrays, stud covers, wires harnesses, etc.
    • 3D Robot Guidance: The robot needs to accurately know the 3D location of the air circuit connectors to introduce the test tool, our vision system can assist with this.
    • Big Data: With High-Resolution Cameras, we ensure catching all the defects. The system can store the data to analyse it and have traceability of the defects.

    Request a Quote